Linux Barcode Scanner
Integrate the Scanbot Linux Barcode Scanner SDK into your applications. Enable fast, reliable barcode scanning for Ubuntu, Raspberry Pi OS, Debian, and other Linux distributions, or deploy it in server environments, embedded systems, and edge devices.
The Linux SDK is currently in closed beta. The SDK and a trial license are available on request via beta@scanbot.io.
Trusted by
300+
global
industry leaders

Barcode scanning for server environments
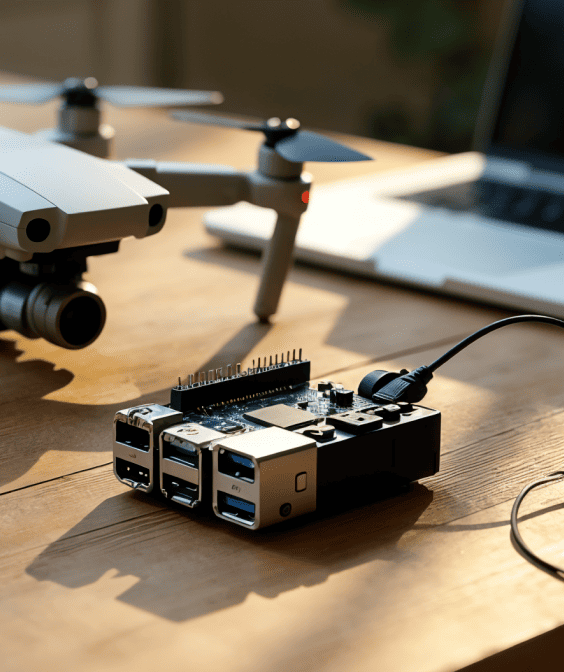
The Scanbot Linux Barcode Scanner SDK processes image data and returns barcode data as a list, making it ideal for a variety of deployment scenarios, including private clouds, drones, robots, and edge devices running on Ubuntu, Raspberry Pi OS, or Debian.

Barcode scanning in challenging conditions
The Linux Barcode Scanner SDK is designed to perform in challenging real-world environments, such as:
- Damaged barcodes
- Low-light environments
- Tiny or distant barcodes
On-device intelligence
100% offline – no servers, no tracking, complete data security.
Fast.
Very fast.
Every scan happens in
Add a fast and reliable Linux Barcode Scanner to your app
The Scanbot Linux Barcode Scanner SDK is designed as a headless tool for fast and reliable barcode scanning in server environments, embedded systems, and edge devices. The SDK processes image data and returns barcode data as a list, providing an efficient solution for private clouds, drones, robots, and industrial devices. Whether deploying on Ubuntu, Raspberry Pi OS, or Debian, the SDK offers flexible integration for a variety of Linux environments.
The core API is written in pure C, making it easy to integrate into a wide variety of programming environments. For developers looking for a quick start, the SDK comes with C++ and Python wrappers, enabling smooth integration into diverse development environments. Additionally, the SDK runs efficiently on low-power platforms like Raspberry Pi, and on platforms with TensorRT support, such as NVIDIA Jetson, leveraging GPU acceleration for optimal performance.
Whether you’re developing a Linux desktop application or deploying the SDK as a barcode scanner server, it delivers fast, reliable results.
Technical requirements
- Supported architectures:
ARM64 or x86_64. - Camera:
Camera with autofocus and at least 720p resolution. - GPU support:
Utilizes GPU acceleration on platforms with TensorRT, such as NVIDIA Jetson.
The Linux Barcode Scanner SDK’s API is written in pure C, with C++ and Python wrappers available for quick integration.
Quick start guide: Implementing a Linux Barcode Scanner
This step-by-step guide will walk you through setting up a complete barcode scanning solution using the Scanbot Linux SDK. These steps are applicable across various Linux distributions with GLIBC 2.27 or higher. You can find a longer version of this tutorial on our blog.
Prerequisites
- Linux device with ARM64 or x86_64 architecture
- Sufficient storage for OpenCV installation
- Camera (for live detection features)
- Scanbot SDK license key and API token (available through beta@scanbot.io)
Implementation steps
1. Project setup
First, obtain the example application, which contains all necessary components for both image-based and live camera barcode scanning. Just download or clone our GitHub repository and unzip the files if necessary.
The project structure provides two implementation options:
minimal/: For static image barcode scanninglive-recognition/: For real-time camera feed scanning
2. Configuration
Navigate to your chosen implementation directory and configure the license key in src/main.cpp:
const std::string LICENSE_KEY = "YOUR_LICENSE_KEY";
3. Build process
Create and navigate to a build directory:
mkdir build
cd build
Generate the build files using CMake …
cmake -DSCANBOTSDK_VERSION=XX.XX -DSCANBOTSDK_API_TOKEN=YOUR_API_TOKEN
… and build the project:
make
4. Running your Linux Barcode Scanner
For static images, just replace the image file path and run the executable:
./detect_barcodes PATH_TO_IMAGE
Your output should look similar to this:
Initializing Scanbot SDK...
License Status: LicenseStatus.OK
Found 3 barcodes
Barcode(text='<https://qrcodes.pro/lwKmGZ>', format=<BarcodeFormat.QR_CODE: 11>, raw_bytes=b'<https://qrcodes.pro/lwKmGZ>', points=[135, 175, 256, 175, 256, 296, 135, 296])
Barcode(text='<https://qrcodes.pro/eQnvl5>', format=<BarcodeFormat.QR_CODE: 11>, raw_bytes=b'<https://qrcodes.pro/eQnvl5>', points=[325, 175, 446, 174, 446, 296, 325, 296])
Barcode(text='<https://qrcodes.pro/XPAkG3>', format=<BarcodeFormat.QR_CODE: 11>, raw_bytes=b'<https://qrcodes.pro/XPAkG3>', points=[515, 174, 636, 175, 636, 297, 515, 296])
For live camera feed recognition, you’ll need to run different commands depending on your setup.
- USB Camera:
./detect_barcodes -i 0 - CSI Camera (Raspberry Pi):
./detect_barcodes -i libcamera - NVIDIA Jetson CSI:
./detect_barcodes -i jetson_csi
Optional configurations
- Enable TensorRT acceleration on supported devices using
-use-tensorrt - View real-time barcode detection with
-use-display
If you’re looking for the Python implementation of the Linux Barcode Scanner SDK for Raspberry Pi, check out our Python Barcode Scanner Tutorial.