ZXing (pronounced zebra crossing) is an open-source JavaScript library that’s widely used for barcode scanning and generation. It can read and process many different types of barcodes, such as Code 128, EAN, QR codes, and UPC, in both 1D and 2D formats.
In this tutorial, we’ll show you how to integrate ZXing’s JavaScript library into a web app to use its barcode scanning functionalities. This involves the following steps:
- Setting up the project
- Installing the ZXing library
- Creating the source files
- Defining the HTML structure
- Implementing the JavaScript code
- Running the application
Before we start, make sure you have latest version of Node.js with npm installed on your machine. You can use a code editor such as Visual Studio Code for this project or stick to the command line.
Step 1: Set up the project
Create a new directory for your project and initialize it with npm.
mkdir zxing-barcode-scanner

cd zxing-barcode-scanner

npm init -y
Step 2: Install the ZXing library
Use the npm command to install the ZXing library:
npm install @zxing/libraryStep 3: Create the source files
Create the required source files in your project folder (zxing-barcode-scanner).
mkdir src

touch src/index.html src/index.js
💡 If you’re using PowerShell on Windows, use the type command instead:
mkdir src

type nul > src/index.html src/index.js
Step 4: Define the HTML structure
In index.html, define the HTML structure that contains a video element to display the camera feed, a startButton for scanning, and a resetButton to reset the scanner. A div with the ID result displays the scanned barcode.
<!doctype html>
<html lang="en">
<head>
  <meta charset="utf-8">
  <meta name="viewport" content="width=device-width, initial-scale=1">
  <title>ZXing TypeScript | Decoding from camera stream</title>
  <link rel="stylesheet" rel="preload" as="style" onload="this.rel='stylesheet';this.onload=null"
    href="https://fonts.googleapis.com/css?family=Roboto:300,300italic,700,700italic">
  <link rel="stylesheet" rel="preload" as="style" onload="this.rel='stylesheet';this.onload=null"
    href="https://unpkg.com/normalize.css@8.0.0/normalize.css">
  <link rel="stylesheet" rel="preload" as="style" onload="this.rel='stylesheet';this.onload=null"
    href="https://unpkg.com/milligram@1.3.0/dist/milligram.min.css">
</head>
<body>
  <main class="wrapper" style="padding-top:2em">
    <section class="container" id="demo-content">
      <h1 class="title">ZXing Barcode Scanner</h1>
      <p>
        <a class="button-small button-outline" href="../../index.html">HOME 🏡</a>
      </p>
      <p>Scan any supported 1D/2D code with ZXing javascript library from the device video
        camera.</p>
      <div>
        <a class="button" id="startButton">Start</a>
        <a class="button" id="resetButton">Reset</a>
      </div>
      <div>
        <video id="video" width="300" height="200" style="border: 1px solid gray"></video>
      </div>
      <div id="sourceSelectPanel" style="display:none">
        <label for="sourceSelect">Change video source:</label>
        <select id="sourceSelect" style="max-width:400px">
        </select>
      </div>
      <label>Result:</label>
      <pre><code id="result"></code></pre>
    </section>
  </main>
  <script type="text/javascript" src="https://unpkg.com/@zxing/library@latest/umd/index.min.js"></script>
  <script src="index.js" defer></script>
</body>
</html>
We use the defer attribute so that the script is executed after the HTML document is fully parsed.
Step 5: Implement the JavaScript code
Add the JavaScript code to initialize ZXing and manage the logic for the barcode scanning process to the index.js file.
window.addEventListener('load', function () {
    let selectedDeviceId;
    const codeReader = new ZXing.BrowserMultiFormatReader()
    console.log('ZXing code reader initialized')
    codeReader.listVideoInputDevices()
      .then((videoInputDevices) => {
        const sourceSelect = document.getElementById('sourceSelect')
        selectedDeviceId = videoInputDevices[0].deviceId
        if (videoInputDevices.length >= 1) {
          videoInputDevices.forEach((element) => {
            const sourceOption = document.createElement('option')
            sourceOption.text = element.label
            sourceOption.value = element.deviceId
            sourceSelect.appendChild(sourceOption)
          })
          sourceSelect.onchange = () => {
            selectedDeviceId = sourceSelect.value;
          };
          const sourceSelectPanel = document.getElementById('sourceSelectPanel')
          sourceSelectPanel.style.display = 'block'
        }
        document.getElementById('startButton').addEventListener('click', () => {
          codeReader.decodeFromVideoDevice(selectedDeviceId, 'video', (result, err) => {
            if (result) {
              console.log(result)
              document.getElementById('result').textContent = result.text
            }
            if (err && !(err instanceof ZXing.NotFoundException)) {
              console.error(err)
              document.getElementById('result').textContent = err
            }
          })
          console.log(`Started continous decode from camera with id ${selectedDeviceId}`)
        })
        document.getElementById('resetButton').addEventListener('click', () => {
          codeReader.reset()
          document.getElementById('result').textContent = '';
          console.log('Reset.')
        })
      })
      .catch((err) => {
        console.error(err)
      })
  })
When the page loads, the script imports the BrowserMultiFormatReader class from the ZXing library and creates a new instance. It provides references to the video element, result paragraph, and start and reset buttons.
When you click the start button, the script calls decodeFromVideoDevice to start scanning from the camera feed.
If there is a barcode for scanning, the script displays the result in the resultElement and logs it to the console. If the process fails, the errors are logged to the console.
The script calls listVideoInputDevices to retrieve a list of available video input devices. It retrieves the HTML element with ID sourceSelect and sets the default device to the first available video input device.
Step 6: Run the application
Open your index.html file in a web browser. Click Start and allow camera access when prompted. Scan the barcode, and find the result displayed on the screen.
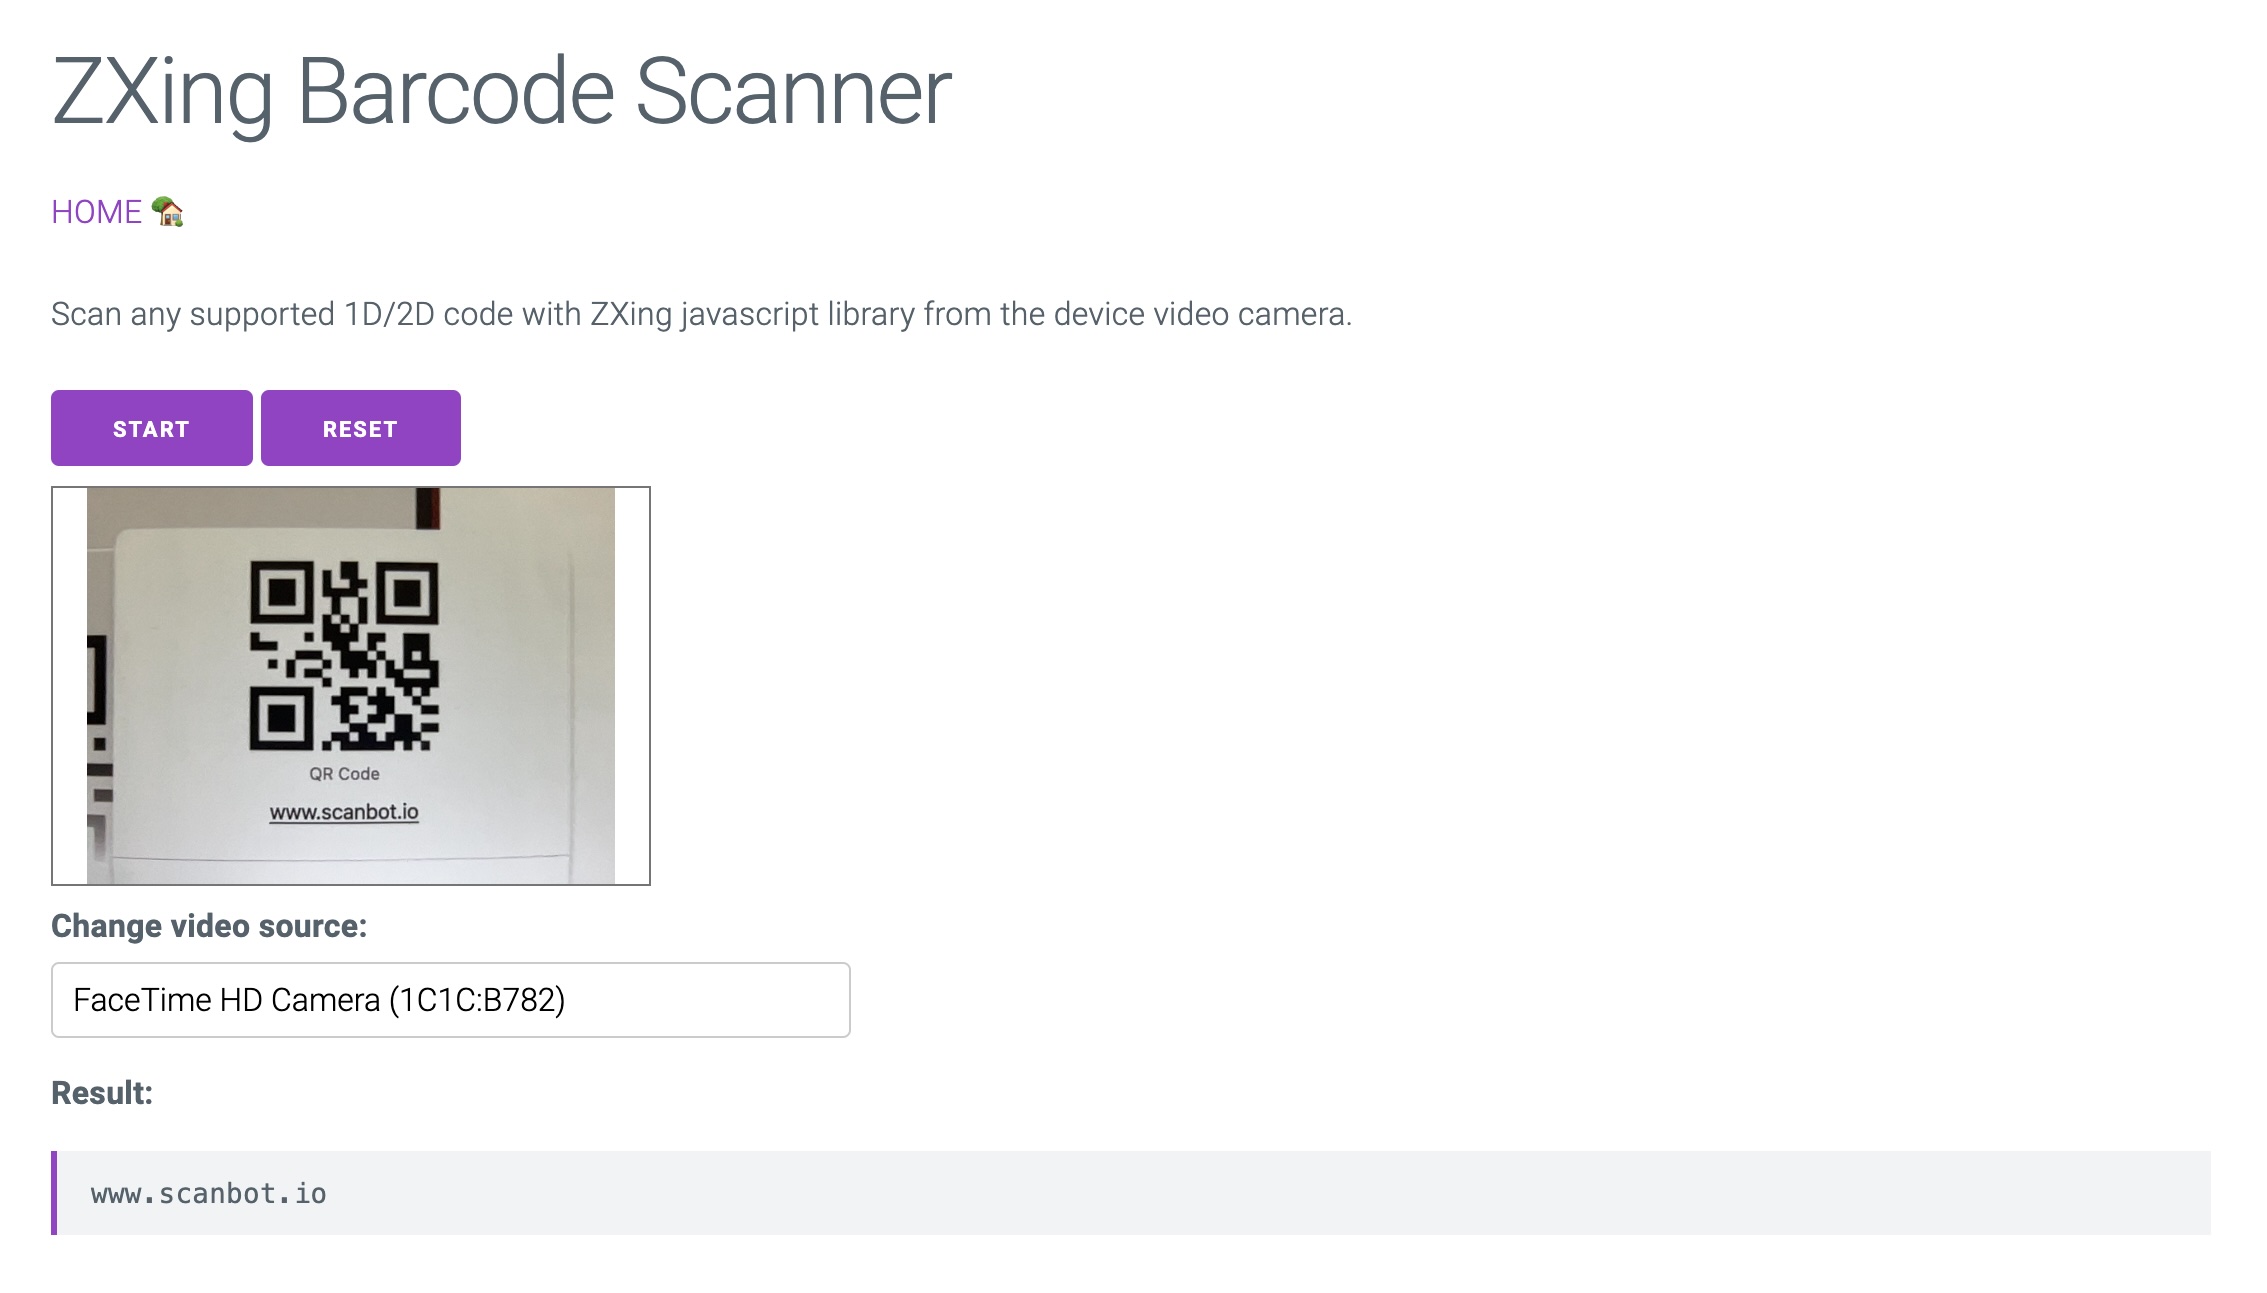
Click Reset to close the camera and clear the results.
If more than one video input device is found (for example front and back camera), you can select the device from the Change video source dropdown.
Disadvantages of using the ZXing barcode scanner library
ZXing provides decent performance for basic barcode scanning tasks but sometimes struggles with more challenging scenarios. Its most notable drawbacks as a barcode scanning solution include:
- Scanning accuracy and speed: ZXing struggles with scanning poorly lit or damaged barcodes. It often exhibits low recognition rates for smaller barcodes and can fail to decode them altogether.
- Compatibility issues: ZXing may not perform reliably across all devices, particularly newer models. This has led to frustration among developers who require consistent performance across different platforms.
- Lack of active development: As an open-source project, ZXing has seen limited updates and maintenance in recent years. This stagnation can lead to unresolved bugs and compatibility issues, making it less reliable for commercial applications.
- Integration complexity: Integrating ZXing into your app can be cumbersome, especially for developers who may not be familiar with its architecture. This can lead to longer development times and increased chances of bugs during implementation.
For companies that heavily rely on barcode scanning in their business processes, we recommend using an enterprise-grade solution instead.
Building a JavaScript-based barcode scanner with the Scanbot SDK
We developed the Scanbot Barcode Scanner SDK to help enterprises overcome the hurdles presented by free barcode scanning software. Our goal was to have a developer-friendly solution available for a wide range of platforms that consistently delivers high-quality results – even in challenging circumstances.
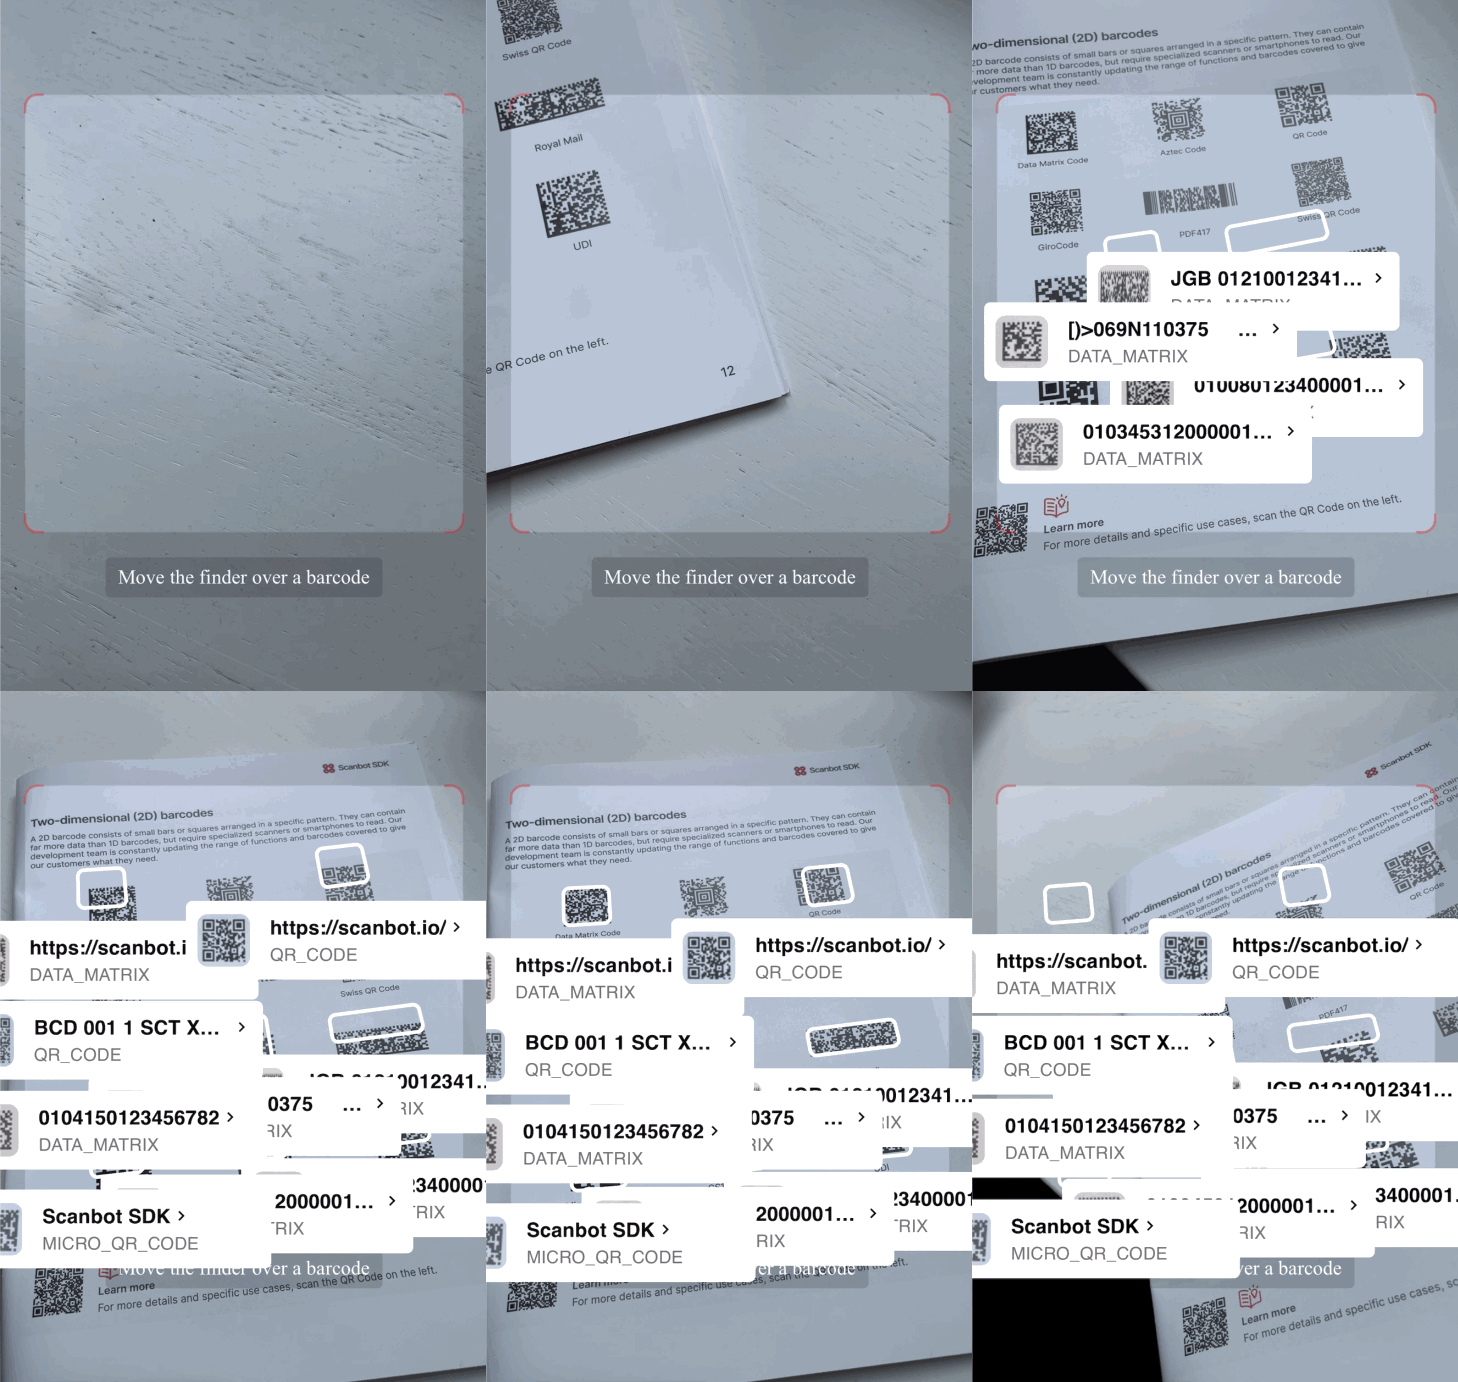
In the following section, we’ll show you how easy it is to integrate our Barcode Scanner SDK into your web app. Thanks to our SDK’s Ready-to-Use UI Components, you can even use an AR overlay to display multiple barcodes’ contents right in the viewfinder.
To accomplish that, you will need to follow the steps below:
- Download the SDK files
- Create the HTML page and configure the Web SDK
- Start a local HTTP server
- Start scanning
- Configure styling and scanning behavior
- Deploy to a server (optional)
Let’s dive into more details for each step.
Step 1: Download the SDK
First, create a new empty directory for your app and name it my-scanner-app.
Then, download the Scanbot SDK npm package directly from here.
💡 As specified in our documentation, you can also use npm install to download and install the package, but for this tutorial, we suggest manually downloading it and installing it from the link provided.
Unzip the downloaded files into my-scanner-app. Your folder structure should look like this:
my-scanner-app/
  |- scanbot-web-sdk/
    |- webpack/
    |- bundle/
    |- @types/
    |- index.js
    |- ui.js
    ... (and some other files)
⚠️ Make sure the folder containing the package files is called scanbot-web-sdk, not “package” or similar.
Step 2: Create the HTML page and configure the Web SDK
To create the HTML with the Scanbot SDK, first create an index.html file in the my-scanner-app/ folder. Then, add the following code to the file.
<!DOCTYPE html>
<html lang="en">
<head>
    <meta charset="UTF-8">
    <!-- We prevent the user from zooming on mobile device -->
    <meta name="viewport" content="width=device-width, initial-scale=1.0, maximum-scale=1.0, user-scalable=0" />
    <title>My Scanner App</title>
</head>
<body style="margin: 0">
<button id="start-scanning">Start scanning</button>
<pre id="result"></pre>
<script type="module">
    // We import the necessary ScanbotSDK module
    import "./scanbot-web-sdk/bundle/ScanbotSDK.ui2.min.js";
    // When initializing the SDK, we specify the path to the barcode scanner engine
    const sdk = await ScanbotSDK.initialize({
        engine: "scanbot-web-sdk/bundle/bin/barcode-scanner/"
    });
    document.getElementById("start-scanning").addEventListener("click", async () => {
        // We create a new default configuration for the barcode scanner
        const config = new ScanbotSDK.UI.Config.BarcodeScannerConfiguration();
        // We create a barcode scanner UI component
        const scanResult = await ScanbotSDK.UI.createBarcodeScanner(config);
        // Once the scanning is done, we display the result
        if (scanResult?.items?.length > 0) {
            document.getElementById("result").innerText =
                `Barcode type: ${scanResult.items[0].type} \n` +
                `Barcode content: "${scanResult.items[0].text}" \n`;
        } else {
            document.getElementById("result").innerText = "Scanning aborted by the user";
        }
    });
</script>
</body>
</html>
The code block above:
- Adds the “Start scanning” button.
- Imports and initializes the Scanbot SDK.
- Executes the user interface from the Scanbot SDK when the user clicks the “Start scanning” button.
- If a barcode is identified, it will present the barcode type and its content to the user.
Step 3: Start local HTTP server
The Scanbot SDK uses advanced browser features that are unavailable when opening our site via a file URL. Therefore, a local HTTP server is required to view the site.
There are two main ways to run the index.js file in a localhost server: using Python or Node.js.
Python
If you have Python installed, you can use it to start a local HTTP server. To do so, follow the steps below:
- Open a terminal in the my-scanner-app/ folder.
- Use the command
python3 -m http.serverto start a local test server. - Now, you can access it on your browser at
http://localhost:8000.
To stop running the localhost server, press Ctrl+C on the terminal.
Node.js
If Node.js is installed, you can use the npm serve package to start a local HTTP server. To do so, follow the steps below:
- Open a terminal in the my-scanner-app/ folder.
- Run the command
npx serve. - Once it finishes loading, you can access the page using the URL provided in your terminal, which usually is
http://localhost:3000.
To stop running the localhost server, press Ctrl+C on the terminal.
Step 4: Start scanning
Once you access the site on your browser, follow the steps below to test the Scanbot SDK:
Click the “Start scanning” button.

The scanning UI will open, allowing you to scan a barcode using your camera. Point your camera to a barcode, as in the example below.

After scanning, the UI closes, displaying the scanned code and its type right below the “Start scanning” button.

Step 5: Configure the style and scanning behavior
The app code provided in Step 2 has the UI fully configured. To change the app’s appearance, you can customize the config object. You can, for example, change the viewfinder size and color.
To do so, you can change the aspectRatio and strokeColor after defining the config object, as displayed in the following code block:
const config = new ScanbotSDK.UI.Config.BarcodeScannerConfiguration();
config.viewFinder.aspectRatio.height = 1;
config.viewFinder.aspectRatio.width = 5;
config.viewFinder.style.strokeColor = "#FF000050";
The above configurations will result in the following styling:

You can find more configuration options by accessing the SDK or API documentation.
As another configuration example, you can display an AR overlay and let the user pick a specific barcode when the app identifies multiple barcodes on the camera. To add this feature, add the following code after defining the config object:
config.useCase.arOverlay.visible = true;
config.useCase.arOverlay.automaticSelectionEnabled = false;
If you open your app again, it will look like this:

💡 The AR labels can also be fully configured.
Step 6: Deploy to a server (optional)
To test your new app on your phone, you need to deploy it to a server. If you don’t have a web server ready, you can prototype your site using services like Static.app by executing the following steps:
- Zip the content from my-scanner-app.
- Access Static.app and click Upload for free.
- Find and select the my-scanner-app.zip file.
- After the upload, your site will run within minutes. You will then be presented with a URL. Use it to access the app from any device, including your mobile phone.
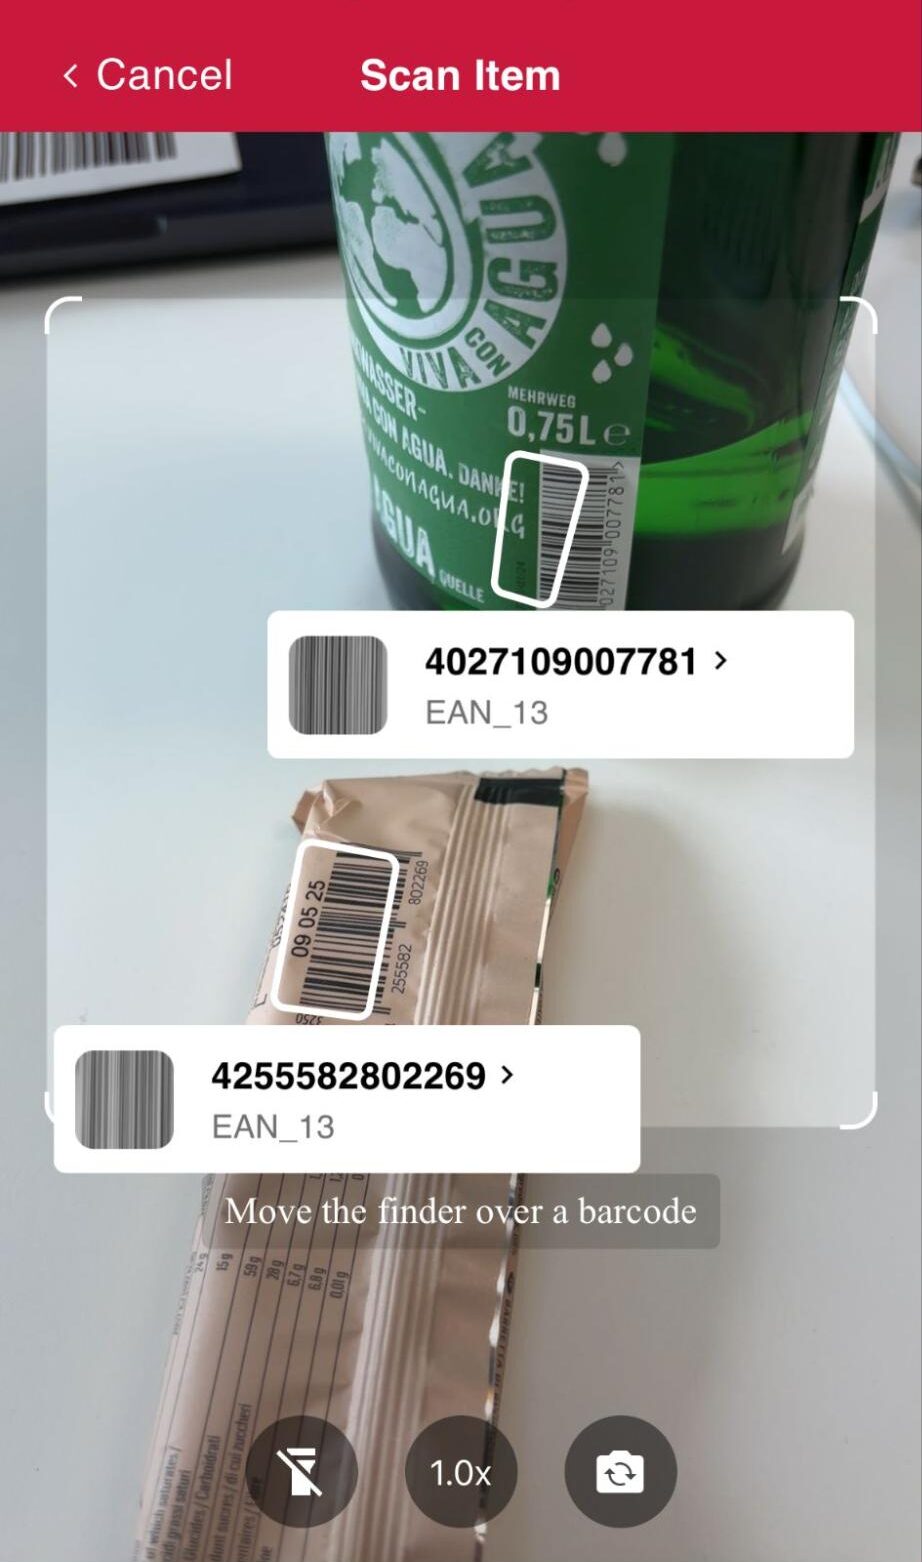
The Scanbot SDK UI is optimized for mobile devices. It allows users to choose the camera and toggle the flashlight by default. Use the URL to test the app interface on your mobile device, as displayed below.
Conclusion
That’s it! You now have a fully functional barcode-scanning web app using the Scanbot SDK’s RTU UI.
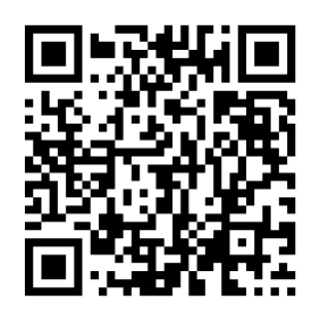
If this tutorial has piqued your interest in integrating barcode scanning functionalities into your web app, make sure to also take a look at our integration guides for React.js, Vue, and Angular. You can also try our Web Barcode Scanner demo app for a more feature-rich implementation of our SDK – just scan the QR code below or follow this link.
Should you have questions about this tutorial or ran into any issues, we’re happy to help! Just shoot us an email via tutorial-support@scanbot.io.
Happy coding!

