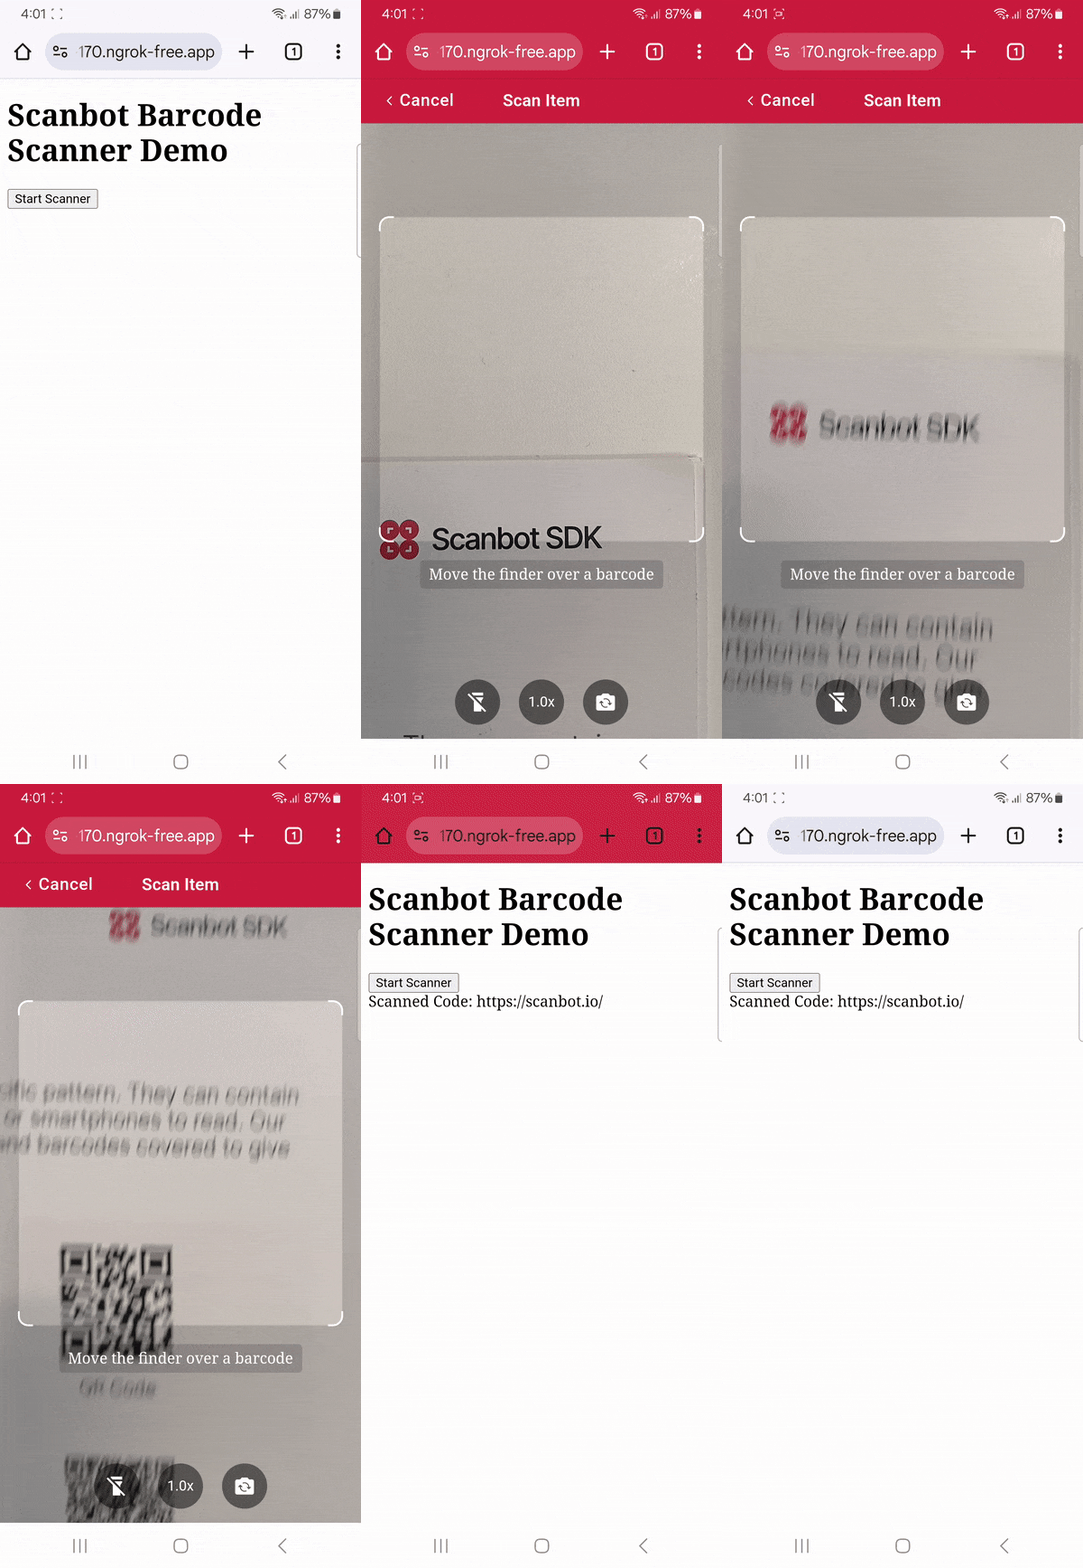
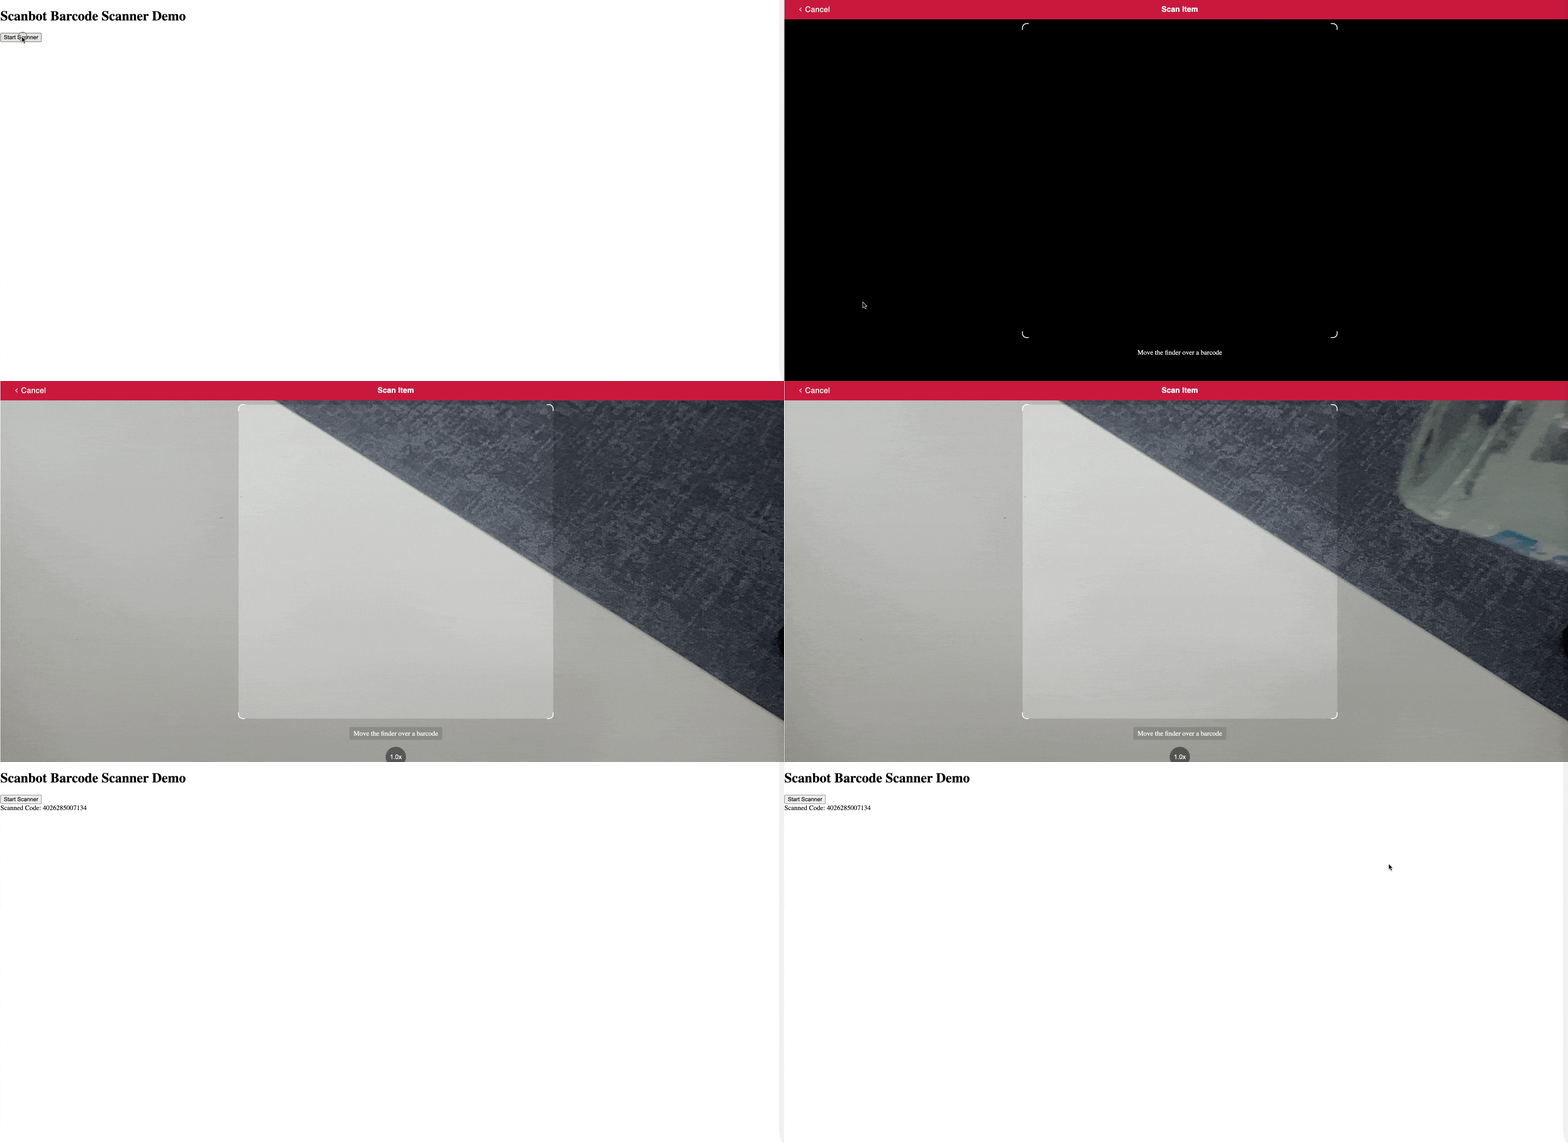
Thanks to the Scanbot Web Barcode Scanner SDK‘s Ready-to-Use UI Components, you can add barcode scanning functionalities to your website or web app in a matter of minutes.

This tutorial will demonstrate how to integrate the SDK using Angular 18, following best practices with standalone components and injectable services. As an architectural paradigm that supersedes the NgModule approach, standalone components make imports much easier, reduce code overhead, and futureproof your application going forward.
Requirements
- Node.js (version 18 or higher)
Project setup
First, open a terminal and install the Angular CLI globally with the -g option:
npm install -g @angular/cli@latestWe’ll start with a fresh Angular 18 project using the CLI, which automatically creates all the necessary Angular framework files.
In your terminal, navigate to where you want to place the app and create a new project called “scanbot-tut” with the following command:
ng new scanbot-tut --standalone --skip-gitWe add --standalone to specify that the project is based on standalone components (i.e., not NgModule), and we add --skip-git simply so that Angular doesn’t try to initialize a new Git repo for this demo.
When prompted, select:
- “CSS” (default) for stylesheet format
- “N” (default) to enabling SSR and SSG/Prerendering
Once the project is created, navigate into it and install the Scanbot Web SDK package with npm using the --save option to add it to your project’s dependencies:
cd scanbot-tut
npm install scanbot-web-sdk --save
Since Angular’s build process doesn’t automatically handle WebAssembly (WASM) files, we need to ensure that these files are included in the final build output. Copy all the files from /scanbot-tut/node_modules/scanbot-web-sdk/bundle/bin/barcode-scanner/ to a new directory called wasm inside the app’s public directory.
You can quickly copy them using the following command:
mkdir -p public/wasm && cp -r node_modules/scanbot-web-sdk/bundle/bin/barcode-scanner/* public/wasmNow we have our Angular project ready and scaffolded along with the Scanbot SDK and the engine files needed to run the SDK. Let’s get coding and put it all together into a basic app!
Creating the barcode scanner service
First, let’s create a service to handle the Scanbot SDK initialization and scanner configuration.
We could use the CLI command ng generate service services/barcode-scanner to automatically create the separate files, but we only need one service.ts file for this example (and not the spec.ts file).
Create a new directory src/app/services and a file called barcode-scanner.service.ts inside it and add the following code:
import { Injectable, signal } from '@angular/core';
import ScanbotSDK from 'scanbot-web-sdk/ui';

@Injectable({
  providedIn: 'root',
})
export class BarcodeScannerService {
  private readonly scanResult = signal<string | null>(null);

  constructor() {
    this.initScanbotSDK(); // Initialize SDK in constructor
  }

  // Initialization method for constructor
  private initScanbotSDK(): void {
    try {
      const settings = {
        licenseKey: '', // Add your license key or leave blank for trial
        enginePath: '/wasm/', // Location of the engine's WebAssembly/JS files
      };
      ScanbotSDK.initialize(settings);
    } catch (error) {
      console.error('Error initializing Scanbot SDK:', error);
    }
  }

  getScanResult() {
    return this.scanResult.asReadonly();
  }

  async startScanner() {
    const config = this.createScannerConfig();
    const result = await ScanbotSDK.UI.createBarcodeScanner(config);

    if (result && result.items.length > 0) {
      this.scanResult.set(result.items[0].barcode.text);
    }

    return result;
  }

  private createScannerConfig() {
    const config = new ScanbotSDK.UI.Config.BarcodeScannerScreenConfiguration();

    // Single/multi-barcode scanning configuration
    const useCase = new ScanbotSDK.UI.Config.SingleScanningMode();
    config.useCase = useCase;

    // AR overlay configuration
    useCase.arOverlay.visible = false;
    useCase.arOverlay.automaticSelectionEnabled = false;

    return config;
  }
}
The above code specifies the barcode scanner service as an injectable dependency that can be inserted into any standalone component. In other words, it exposes the BarcodeScannerService class to any component that needs it, while encapsulating all the logic needed to initialize and configure the SDK.
To customize the look and feel of the scanner’s Ready-To-Use UI, the createScannerConfig() method creates and returns a config object which is populated with the desired configuration.
Then, config is passed to the SDK’s createBarcodeScanner()method, which finally starts the barcode scanner and returns a result when it detects a barcode. You can learn about the different configuration options shown above (and more) in our API Documentation.
To set the use case between single- and multi-barcode scanning, simply apply the appropriate config method on this line:
const useCase = new ScanbotSDK.UI.Config.SingleScanningMode();Switch between SingleScanningMode() or MultipleScanningMode() as desired.
To enable and disable the AR overlay and the automatic selection feature, go to the following lines and set either option to true or false:
useCase.arOverlay.visible = false;
useCase.arOverlay.automaticSelectionEnabled = false;
You can keep these features off for now, since we only want to test scanning a single barcode in this tutorial.
💡 The SDK is initialized with your Scanbot license key. You have the option of leaving the licenseKey empty to use a trial mode that works for 60 seconds per session or getting a free 7-day trial by submitting the trial license form on our website.
Creating the scanner component
Next, we will add a scanner component that can later be added anywhere else in your application, to which the scanner service will be attached (injected).
Again, we could use the CLI to create this component with ng generate component components/scanner --standalone, but here we will inline the template for a full view of what is going on in this component.
Create a new directory src/app/components/scanner and a file called scanner.component.ts inside it and add the following code:
import { Component, inject } from '@angular/core';
import { BarcodeScannerService } from '../../services/barcode-scanner.service';

@Component({
  selector: 'app-scanner',
  standalone: true,
  template: `
    <div class="scanner-container">
      <button (click)="startScanner()" class="scan-button">
        Start Scanner
      </button>
      @if (scanResult()) {
      <div class="result">Scanned Code: {{ scanResult() }}</div>
      }
    </div>
  `,
  styles: [ /* ... your styles ... */ ],
})
export class ScannerComponent {
  private readonly scannerService = inject(BarcodeScannerService);
  protected readonly scanResult = this.scannerService.getScanResult();

  async startScanner() {
    await this.scannerService.startScanner();
  }
}
Here, the barcode scanner service that we created in the previous step is added to the ScannerComponent via the assignment of scannerService = inject(BarcodeScannerService).
The component’s template metadata includes inline code that adds a button which starts the scanner with startScanner(). When a barcode is detected by the scanner, the result is stored within scanResult for display and any further processing by your app.
💡 Reminder: For best Angular practice, this inline template code ought to be in its own template file (.html) specified with templateURL.
Updating the app component
Now, let’s update the root app component to use our scanner component.
Replace the contents of src/app/app.component.ts with the following:
import { Component } from '@angular/core';
import { ScannerComponent } from './components/scanner/scanner.component';

@Component({
  selector: 'app-root',
  standalone: true,
  imports: [ScannerComponent],
  template: `
    <main class="app-container">
      <h1>Scanbot Barcode Scanner Demo</h1>
      <app-scanner />
    </main>
  `,
  styles: [ /* ... your styles ... */ ],
})
export class AppComponent {}
Here, AppComponent imports ScannerComponent which includes the BarcodeScannerService as well (as an injected dependency). As soon as we launch the app, the Scanbot SDK will be initialized in the background, ready to begin scanning once the start button is clicked.

This overall architecture provides several benefits:
Separation of concerns:
- The
BarcodeScannerServicehandles all SDK initialization and configuration - The
ScannerComponentmanages the UI and user interactions - The
AppComponentserves as the application shell
State management:
- Uses Angular’s signals for reactive state management
- The scan result is managed centrally in the service
- Components can subscribe to state changes efficiently
Dependency injection:
- The service is provided at the root level
- Components use dependency injection to access the service
- Makes testing and maintenance easier
Standalone components:
- No
NgModuleneeded - Components declare their own dependencies
- Better tree-shaking and build optimization
Running the app on your phone
To test your Angular app on your phone, you can try one of the following options.
Using a production build
Build your app for production …
ng build… and upload the inner contents of the dist/scanbot-tut/browser directory to static.app. After creating an account, you’ll get a URL to access your app on your mobile device.
Using a development server
Option 1: ngrok
Use ngrok to create a secure tunnel to your development server. This is ideal for development as you can see changes in real-time. Follow ngrok’s Quick Start guide to get started.
Option 2: Local network access
To make your Angular development server accessible over your local network, use ng serve in your terminal with host as a wildcard address (0.0.0.0) or your current IP address, and specify the --ssl option:
ng serve --ssl --host 0.0.0.0Angular will now serve your app on the local network with a self-signed SSL certificate for HTTPS.
Then, simply open your mobile browser and enter the network URL shown in your terminal. Ignore the warning about a potential security risk, as this is to be expected with self-signed SSL certificates.

Conclusion
🎉 Congratulations! You now have a fully functional barcode scanner integrated into your Angular 18 application, built with modern best practices.
The scanner is customizable and supports features like multi-barcode scanning and AR overlay. For more customization options, check out the RTU UI Documentation and the API Documentation.
If this tutorial has piqued your interest in integrating barcode scanning functionalities into your web app, make sure to take a look at our SDK’s other neat features in our documentation – or run our example project for a more hands-on experience.
Should you have questions about this tutorial or run into any issues, we’re happy to help! Just shoot us an email via tutorial-support@scanbot.io.

