In this tutorial, we’ll use the Ionic framework and Angular to build a barcode scanner app and turn it into an installable Progressive Web App (PWA).
To implement the scanning functionalities, we’ll use the Scanbot Web Barcode Scanner SDK.
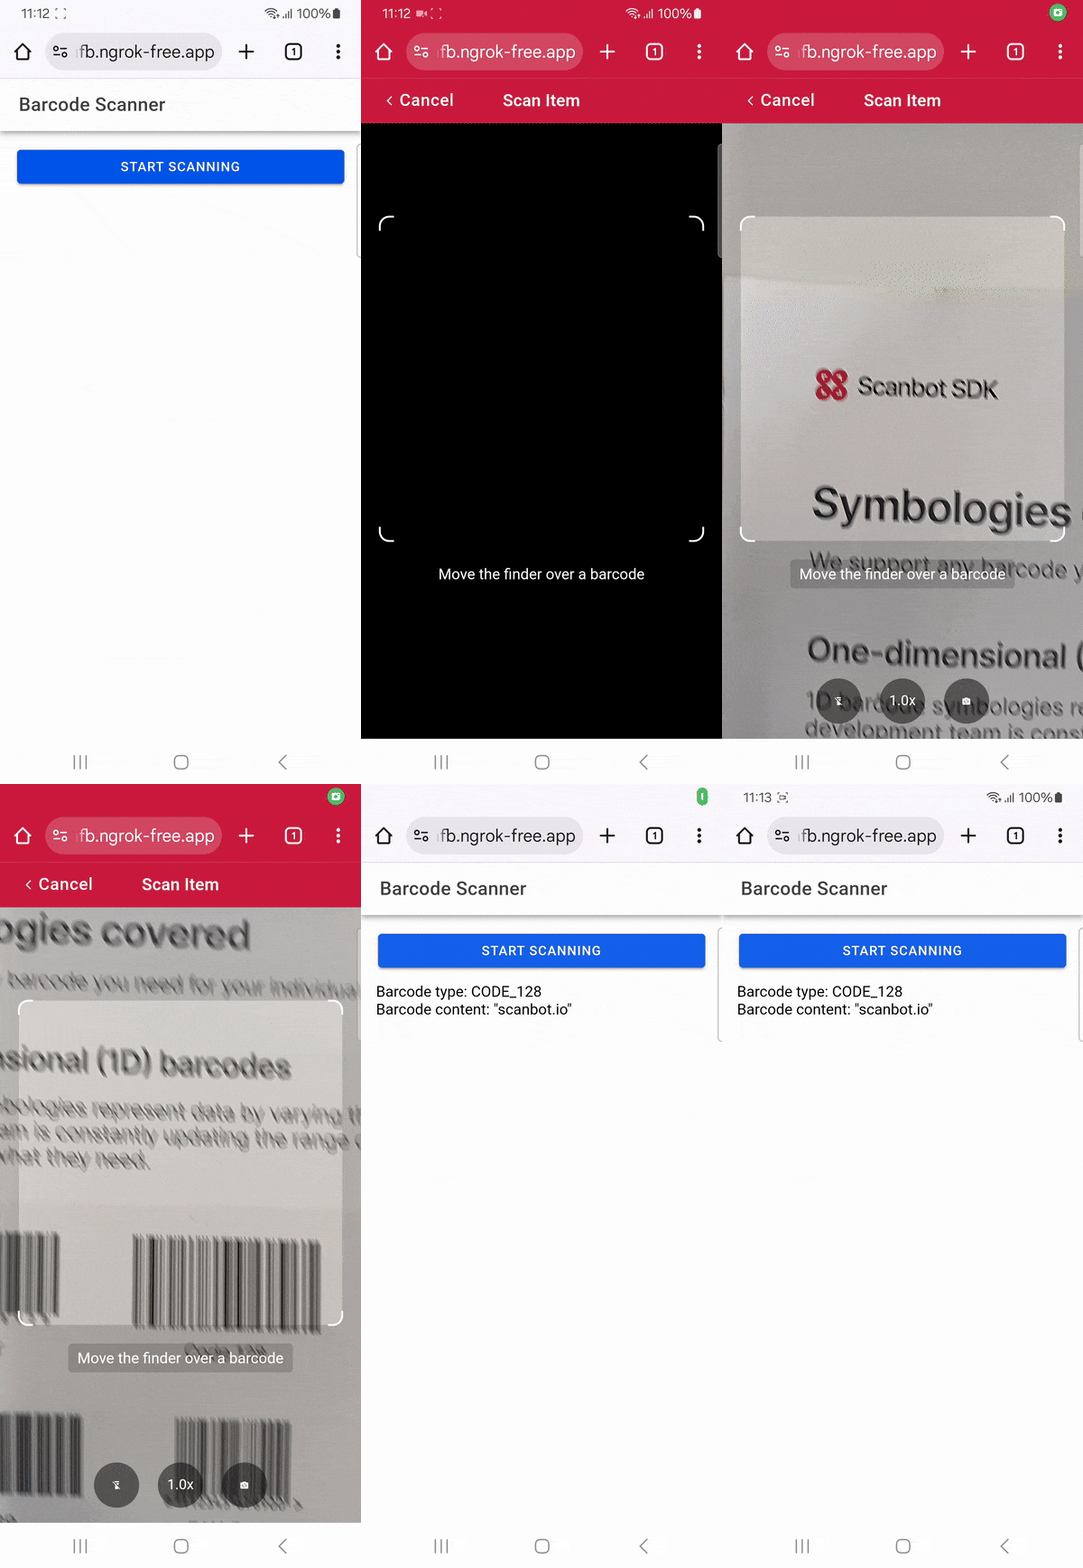
Building our app involves the following steps:
- Preparing the project
- Setting up the barcode scanner component
- Adding the component to the home page
- Adding PWA support
Prerequisites
Before we begin, make sure you have the following installed:
- Node.js (v16 or higher)
- npm or yarn (we’ll use npm in this tutorial)
- Ionic CLI (
npm install -g @ionic/cli)
Step 1: Prepare the project
First, create a new Ionic project with Angular.
ionic start ionic-pwa-barcode-scanner blank --type=angular When asked whether to use NgModules or Standalone Components, choose Standalone.
After the project has been created, navigate into the project directory:
cd ionic-pwa-barcode-scannerStep 2: Set up the barcode scanner component
In this step, we’ll set up a simple component for scanning a single barcode using the SDK’s built-in barcode scanning interface.
Open src/app/home/home.page.ts and replace the code with the following:
import { Component, OnInit } from '@angular/core';
import {
  IonHeader,
  IonToolbar,
  IonTitle,
  IonContent,
  IonButton,
} from '@ionic/angular/standalone';

declare const ScanbotSDK: any;

@Component({
  selector: 'app-home',
  templateUrl: 'home.page.html',
  styleUrls: ['home.page.scss'],
  standalone: true,
  imports: [IonHeader, IonToolbar, IonTitle, IonContent, IonButton],
})
export class HomePage implements OnInit {
  async ngOnInit() {
    // Load Scanbot SDK
    await this.loadScanbotSDK();

    const sdk = await ScanbotSDK.initialize({
      enginePath:
        'https://cdn.jsdelivr.net/npm/scanbot-web-sdk@7.0.0/bundle/bin/barcode-scanner/',
    });

    document
      .getElementById('start-scanning')
      ?.addEventListener('click', async () => {
        const config =
          new ScanbotSDK.UI.Config.BarcodeScannerScreenConfiguration();
        const scanResult = await ScanbotSDK.UI.createBarcodeScanner(config);

        const resultElement = document.getElementById('result');
        if (scanResult?.items?.length > 0) {
          resultElement!.innerText =
            `Barcode type: ${scanResult.items[0].barcode.format} \n` +
            `Barcode content: "${scanResult.items[0].barcode.text}" \n`;
        } else {
          resultElement!.innerText = 'Scanning aborted by the user';
        }
      });
  }

  private loadScanbotSDK(): Promise<void> {
    return new Promise((resolve) => {
      const script = document.createElement('script');
      script.type = 'module';
      script.src =
        'https://cdn.jsdelivr.net/npm/scanbot-web-sdk@7.0.0/bundle/ScanbotSDK.ui2.min.js';
      script.onload = () => resolve();
      document.head.appendChild(script);
    });
  }
}
In this component, we initialize the Scanbot SDK with an empty licenseKey to use it in trial mode, which works for 60 seconds per session. You can also get a free 7-day trial by submitting the trial license form.
⚠️ In this tutorial, we’re importing the SDK via jsDelivr. However, you should only do this for quick prototyping. In your production environment, please download the Web SDK directly (or install it via npm) and include its files in your project.
After initialization, the component attaches an event listener to the start-scanning element. When clicked, it opens the SDK’s barcode scanning interface with the default configuration.
When the scanning process has finished, the promise resolves with a scanResult and updates the result element to display the scanned barcode’s symbology (barcode.format) and encoded value (barcode.text) .
Step 3: Add the component to the home page
Now that our barcode scanner component is set up, open src/app/home/home.page.html and replace its content with the following code to include the component:
<ion-header>
  <ion-toolbar>
    <ion-title>Barcode Scanner</ion-title>
  </ion-toolbar>
</ion-header>

<ion-content>
  <div style="padding: 16px;">
    <ion-button expand="block" id="start-scanning">Start scanning</ion-button>
    <p id="result"></p>
  </div>
</ion-content>
With this, we’ve finished setting up our barcode scanner app. Before we configure it as a Progressive Web App, you can run it to test its scanning functionalities:
ionic serve
💡 To test your web app on your phone, you have a few options. One option is to use a service like ngrok, which creates a tunnel to one of their SSL-certified domains. Their Quick Start guide will help you get up and running quickly.
If you have the Angular CLI installed, you can also use ng serve in your terminal with host as a wildcard address (0.0.0.0) or your current IP address, and specify the --ssl option:
ng serve --ssl --host 0.0.0.0Angular will then serve your app on the local network with a self-signed SSL certificate for HTTPS.
Step 4: Add PWA support
To turn our app into a PWA, we use Angular’s convenient pwa package:
npx ng add @angular/pwaThis command automatically installs the necessary service worker package and updates the project’s configuration to enable service workers during production builds. The command also creates essential files such as a web app manifest, service worker configuration, and application icons.
However, this still requires one more manual step. Open angular.json and check whether both of the file’s assets sections include the public directory, like this:
"assets": [
  {
    "glob": "**/*",
    "input": "src/assets",
    "output": "assets"
  },
  {
    "glob": "**/*",
    "input": "public",
    "output": "."
  }
],
If not, change both sections accordingly.
Now that our barcode scanner PWA is ready, run it once more.
ionic serveYou should see an icon for installing the PWA in your browser’s address bar.
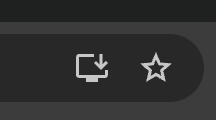
If the icon doesn’t display, build the project for production …
ionic build --prod… and test the production build locally.
npx http-server www -p 8100Conclusion
🎉 Congratulations! You’ve successfully built a barcode scanning PWA using Ionic and Angular!
This tutorial showcases just one of the many scanner configurations the Scanbot SDK has to offer – take a look at the RTU UI documentation and API references to learn more.
Integration guides are also available for the following Web frameworks:
Should you have questions about this tutorial or run into any issues, we’re happy to help! Just shoot us an email via tutorial-support@scanbot.io.
Happy scanning! 🤳
