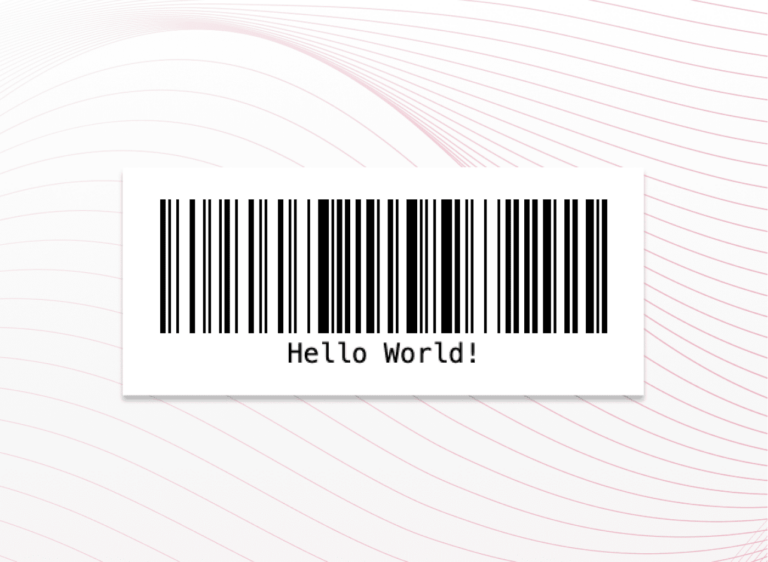
In this tutorial, you’ll learn how to create a simple JavaScript app that generates barcodes based on user input.
The app will allow users to
- select between two barcode symbologies (Code 128 or QR Code),
- enter the data to be encoded,
- choose the size of the barcode.
As a twist, the barcode will be generated as the user types.
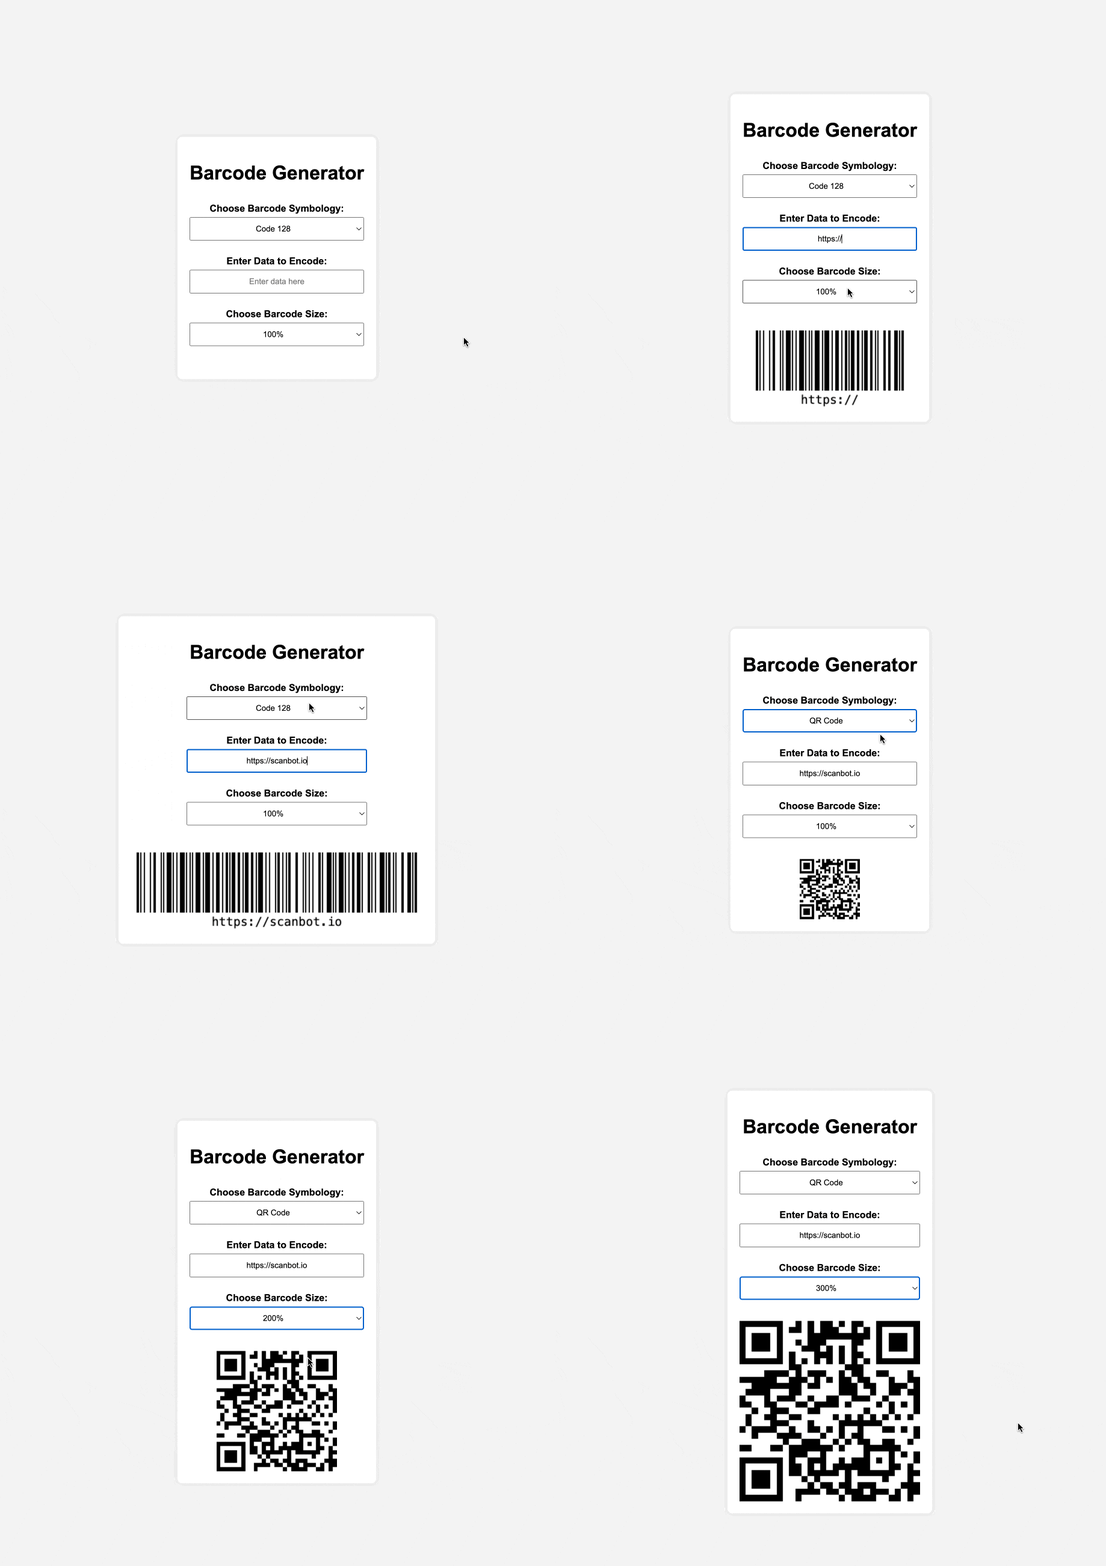
We’ll achieve this with the following steps:
- Setting up the project
- Creating the HTML structure
- Styling the page with CSS
- Implementing the JavaScript logic
- Generating a barcode!
Barcode generation will be handled by the JavaScript libraries JsBarcode (for Code 128) and QRCode.js (for QR Codes, as the name implies).
Step 1: Set up the project
First, create a new folder, e.g., barcode-generator. In it, create three new files, which we’ll use to structure and style the web page and implement the barcode generation functionalities:
index.htmlstyle.cssscript.js
Step 2: Create the HTML structure
Let’s define the structure and layout of our web page. This is where users will interact with the barcode generator by selecting options and inputting data.
We’ll set up our HTML file so that users can choose between two different barcode symbologies (more on how to add additional barcode types later in the tutorial), enter the data they want to be encoded in the barcode, and set the barcode’s size via a dropdown menu. The (continuously) generated barcode will be displayed in an empty div.
We’ll also include our script.js at the end of the file, as well as the two libraries for generating the barcode, JsBarcode and QRCode.js.
index.html:
<!DOCTYPE html>
<html lang="en">
<head>
    <meta charset="UTF-8">
    <meta name="viewport" content="width=device-width, initial-scale=1.0">
    <title>Barcode Generator</title>
    <link rel="stylesheet" href="style.css">
</head>
<body>
    <div class="container">
        <h1>Barcode Generator</h1>

        <!-- Symbology Selection -->
        <label for="symbology">Choose Barcode Symbology:</label>
        <select id="symbology">
            <option value="CODE128">Code 128</option>
            <option value="QR">QR Code</option>
        </select>

        <!-- Data Input -->
        <label for="data">Enter Data to Encode:</label>
        <input type="text" id="data" placeholder="Enter data here">

        <!-- Size Selection -->
        <label for="size">Choose Barcode Size:</label>
        <select id="size">
            <option value="1">100%</option>
            <option value="2">200%</option>
            <option value="3">300%</option>
        </select>

        <!-- Barcode Display -->
        <div id="barcode"></div>
    </div>

    <!-- Script Includes -->
    <script src="https://cdn.jsdelivr.net/npm/jsbarcode@3.11.0/dist/JsBarcode.all.min.js"></script>
    <script src="https://cdnjs.cloudflare.com/ajax/libs/qrcodejs/1.0.0/qrcode.min.js"></script>
    <script src="script.js"></script>
</body>
</html>
Step 3: Style the page with CSS
So our barcode generator is easy on the eyes, we’ll use CSS to style the web page. We’ll center the .container horizontally and vertically within the viewport and add a subtle shadow around it for a lifted effect.
style.css:
body {
    font-family: Arial, sans-serif;
    display: flex;
    justify-content: center;
    align-items: center;
    height: 100vh;
    margin: 0;
    background-color: #f4f4f4;
}

.container {
    text-align: center;
    background: white;
    padding: 20px;
    border-radius: 8px;
    box-shadow: 0 0 10px rgba(0, 0, 0, 0.1);
    display: flex;
    flex-direction: column;
    align-items: center;
}

label {
    margin: 10px 0 5px 0;
    font-weight: bold;
}

input, select {
    margin-bottom: 15px;
    padding: 10px;
    width: 100%;
    max-width: 300px;
    box-sizing: border-box;
    text-align: center;
}

#barcode {
    margin-top: 20px;
    display: flex;
    justify-content: center;
}
Step 4: Implement the JavaScript logic
The JavaScript file contains the logic for generating the barcode based on user input. This includes handling user input changes, clearing previous barcodes, and generating new ones.
By attaching an event listener to the <input> element with the ID data, we ensure that the barcode is regenerated every time the user types something in the input field. This allows the user to see the barcode “grow” in real time.
JsBarcode() and new QRCode() will handle the complex task of encoding and rendering our barcodes.
script.js:
document.getElementById('symbology').addEventListener('change', generateBarcode);
document.getElementById('data').addEventListener('input', generateBarcode);
document.getElementById('size').addEventListener('change', generateBarcode);

function generateBarcode() {
    const symbology = document.getElementById('symbology').value;
    const data = document.getElementById('data').value;
    const size = document.getElementById('size').value;

    document.getElementById('barcode').innerHTML = '';

    if (data.trim() === '') {
        return;
    }

    if (symbology === 'QR') {
        generateQRCode(data, size);
    } else if (symbology === 'CODE128') {
        generate1DBarcode(symbology, data, size);
    }
}

function generate1DBarcode(format, data, size) {
    const canvas = document.createElement('canvas');
    JsBarcode(canvas, data, {
        format: format,
        width: 2 * size,
        height: 100 * size,
        displayValue: true
    });
    document.getElementById('barcode').appendChild(canvas);
}

function generateQRCode(data, size) {
    const qrContainer = document.createElement('div');
    new QRCode(qrContainer, {
        text: data,
        width: 100 * size,
        height: 100 * size,
    });
    document.getElementById('barcode').appendChild(qrContainer);
}

// Initial barcode generation (optional)
generateBarcode();
Step 5: Generate a barcode!
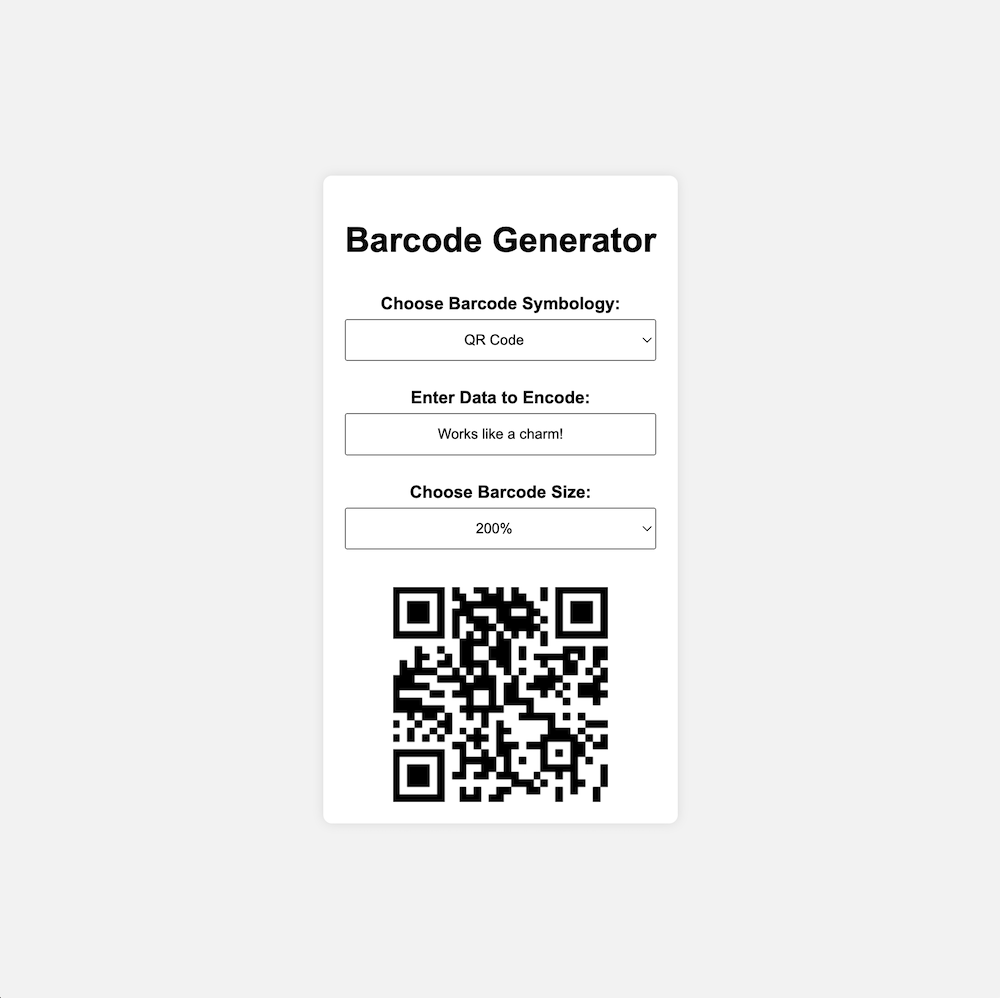
You can now open index.html in your browser and should see the barcode generator interface with the two dropdown menus and the data input field. As you type, the barcode will be generated automatically below, updating in real time. You can also switch from one symbology to another and change the barcode’s size at will.
Optional: Add more barcode symbologies
In this tutorial, we chose to include Code 128 and QR Code as representatives of 1D and 2D barcodes because they don’t have many restrictions when it comes to the structure of the data they can encode. If you want to expand the generator to include more barcode symbologies, here’s what you need to do:
- Understand the symbology: Learn about the barcode’s character set, length restrictions, and formatting rules.
- Update the HTML structure:
- Add more
<option>tags in thesymbologydropdown with the values corresponding to the barcode formats supported byJsBarcode. - If you want your barcode generator to support a wider range of symbologies, take a look at other libraries like bwip-js.
- Add more
- Modify the JavaScript logic: Add the appropriate logic in the
generateBarcodefunction to handle new symbologies. - Test your app thoroughly: Ensure that each new symbology is generating correctly and that your app handles any edge cases or restrictions for the specific symbology.
What about scanning barcodes using JavaScript?
Now that you generated barcodes using JavaScript, you might ask yourself whether you can also scan them using a similar approach.
Indeed you can!
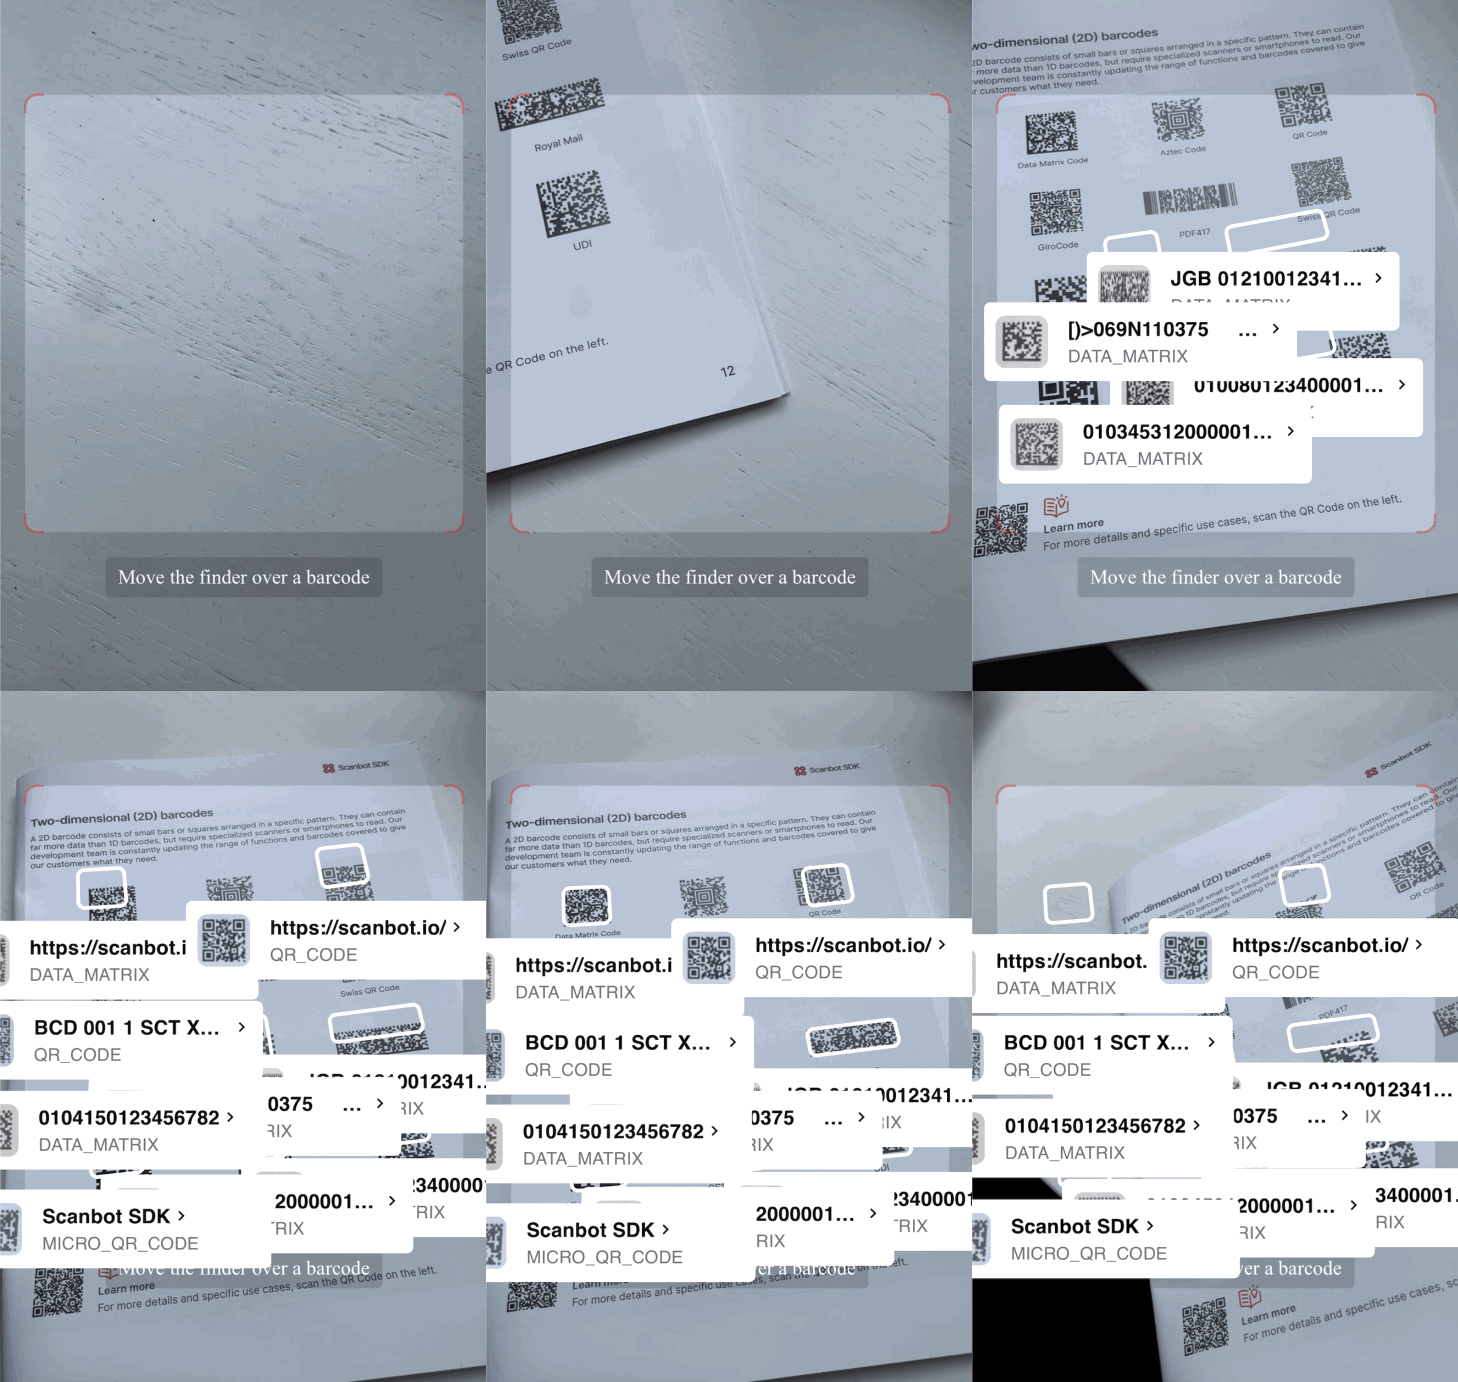
We’ve outlined the process of building a simple web app for scanning barcodes using TypeScript or, if you prefer, React – and our Web Barcode Scanner SDK.
Give it a try!
