In this tutorial, we’ll use Android Studio, Kotlin, and the Scanbot Barcode Scanner SDK to create a powerful scanning app for extracting data from barcodes and QR codes.
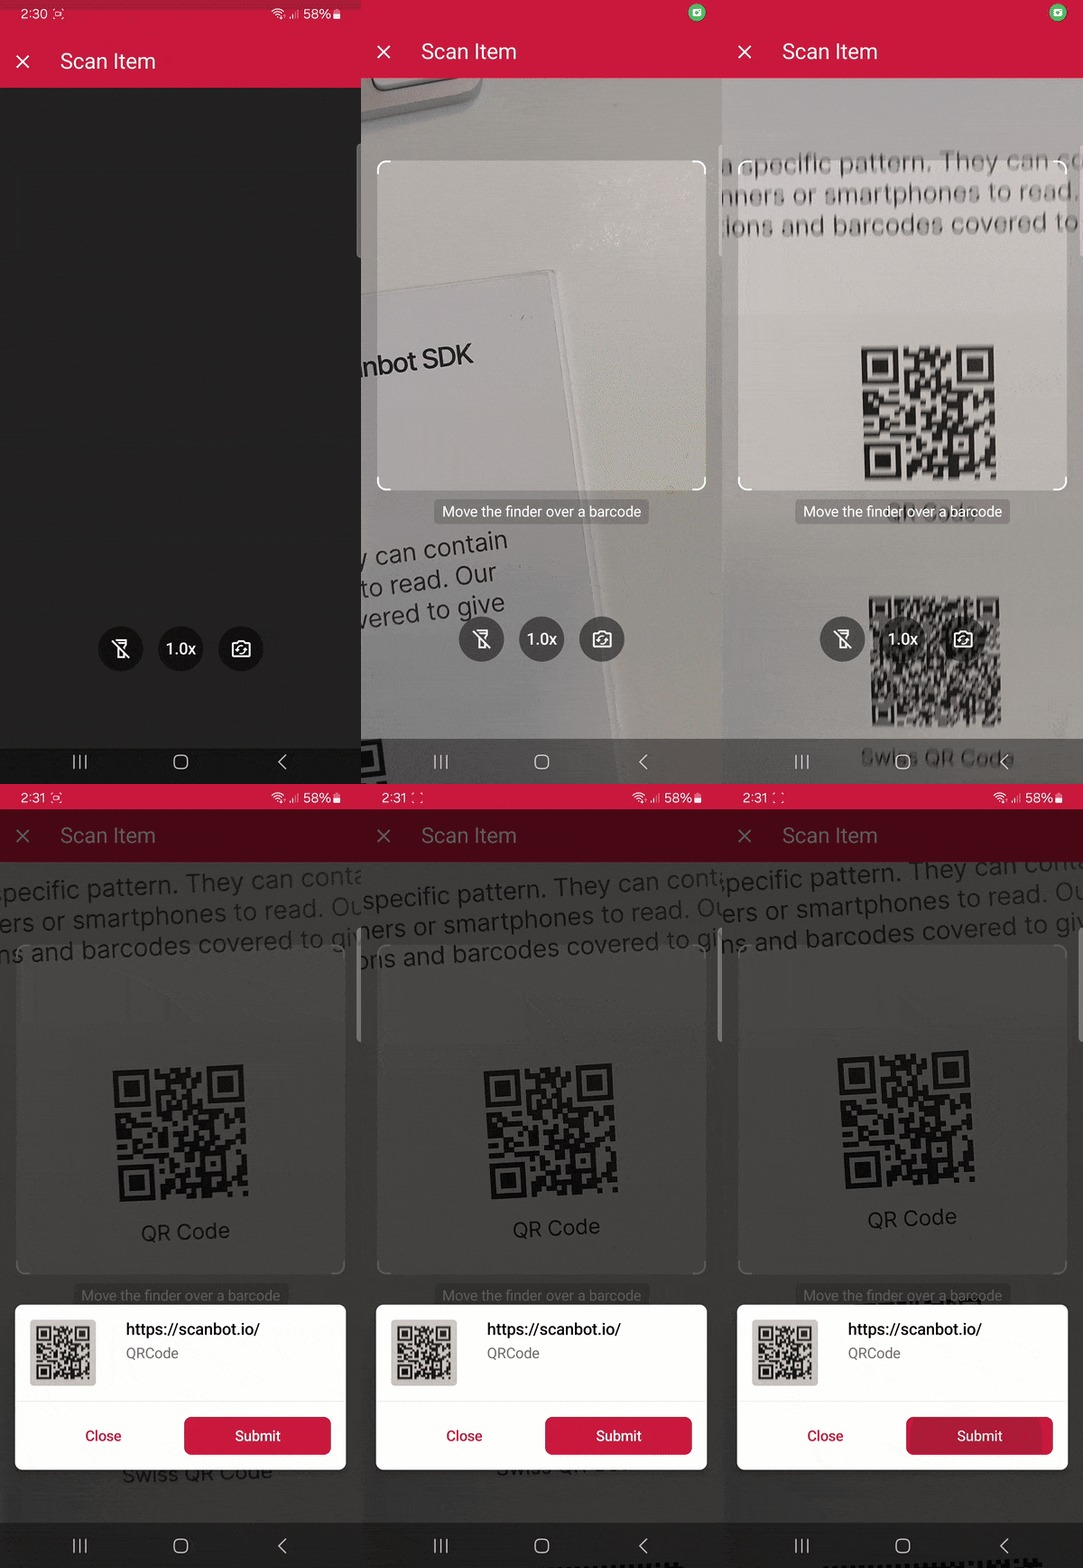
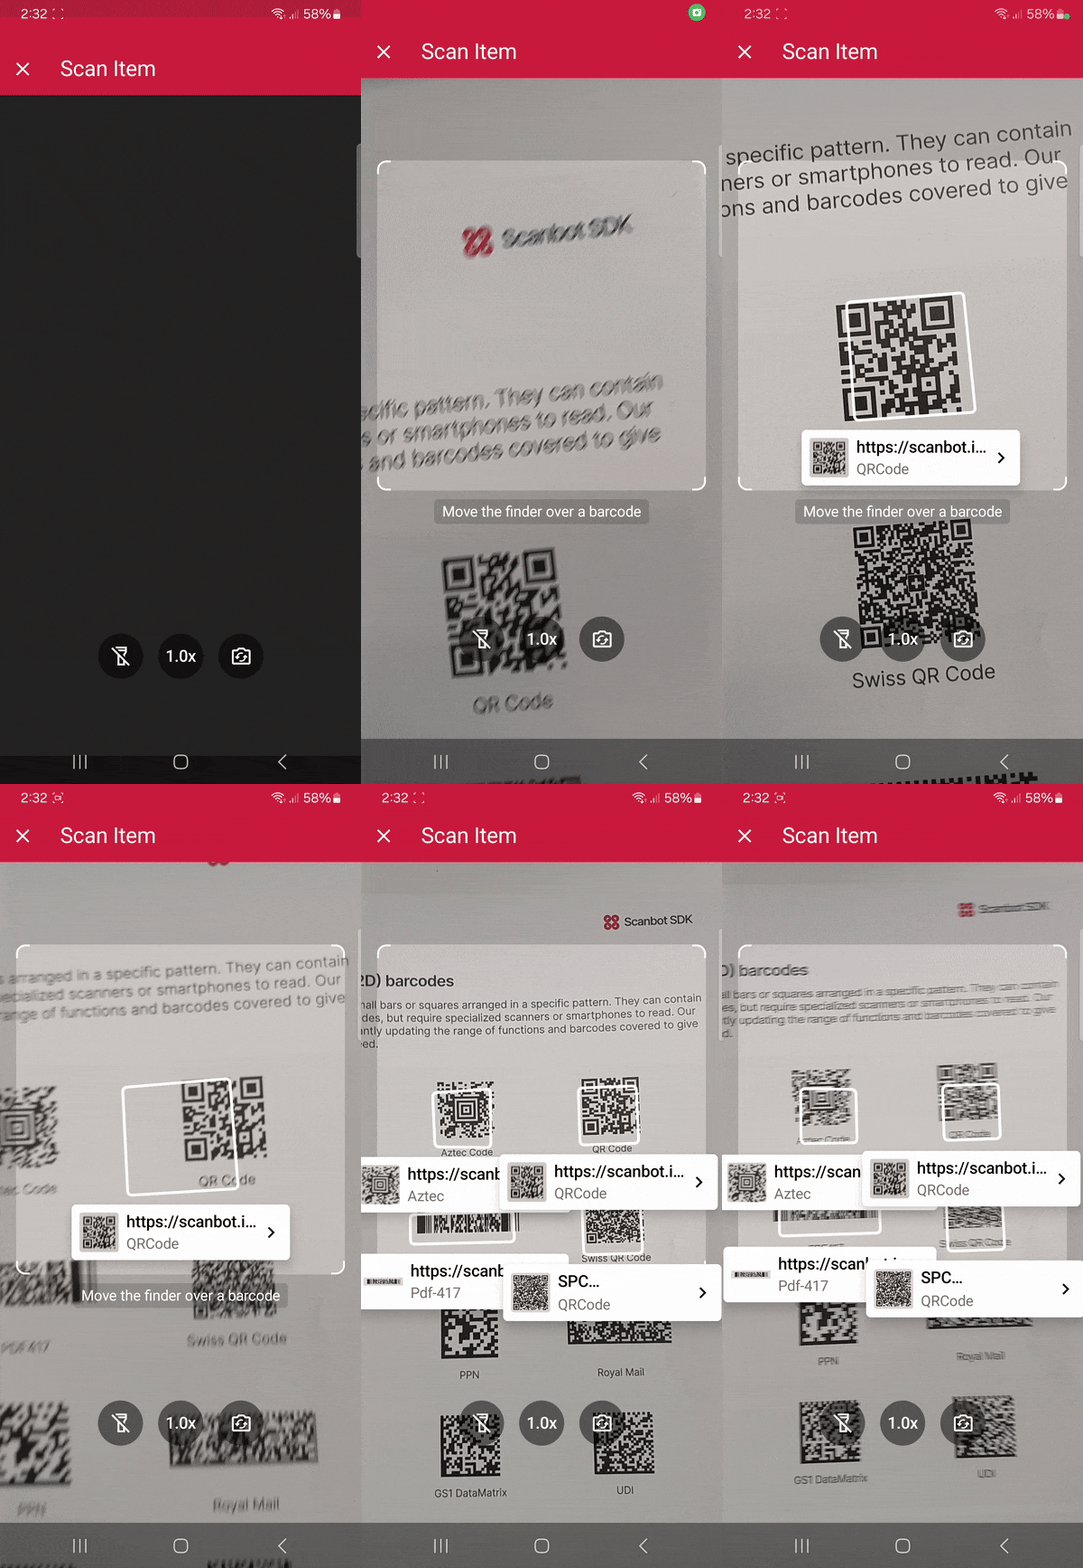
We’ll achieve this by following these steps:
- Preparing the project
- Initializing the SDK
- Setting up the main screen
- Implementing the barcode scanning feature
All you need is the latest version of Android Studio and you’re good to go.
Want to see the final code right away? Click here.
MainActivity.kt:
package com.example.androidbarcodescanner

import android.os.Bundle
import androidx.activity.enableEdgeToEdge
import androidx.appcompat.app.AppCompatActivity
import androidx.core.view.ViewCompat
import androidx.core.view.WindowInsetsCompat
import android.widget.Button
import android.widget.Toast
import androidx.activity.result.ActivityResultLauncher
import io.scanbot.sdk.ui_v2.barcode.BarcodeScannerActivity
import io.scanbot.sdk.ui_v2.common.activity.registerForActivityResultOk
import io.scanbot.sdk.ui_v2.barcode.configuration.*

class MainActivity : AppCompatActivity() {

    private val barcodeResultLauncher: ActivityResultLauncher<BarcodeScannerScreenConfiguration> =
        registerForActivityResultOk(BarcodeScannerActivity.ResultContract()) { resultEntity ->
            val barcodeItem = resultEntity.result?.items?.first()
            Toast.makeText(
                this,
                "Scanned: ${barcodeItem?.barcode?.text} (${barcodeItem?.barcode?.format})",
                Toast.LENGTH_LONG
            ).show()
        }

    override fun onCreate(savedInstanceState: Bundle?) {
        super.onCreate(savedInstanceState)
        enableEdgeToEdge()
        setContentView(R.layout.activity_main)
        ViewCompat.setOnApplyWindowInsetsListener(findViewById(R.id.main)) { v, insets ->
            val systemBars = insets.getInsets(WindowInsetsCompat.Type.systemBars())
            v.setPadding(systemBars.left, systemBars.top, systemBars.right, systemBars.bottom)
            insets
        }
        findViewById<Button>(R.id.btn_scan_barcodes).setOnClickListener {
            val config = BarcodeScannerScreenConfiguration().apply {
                this.useCase = MultipleScanningMode().apply {
                    this.arOverlay.visible = true
                    this.arOverlay.automaticSelectionEnabled = false
                }
            }
            barcodeResultLauncher.launch(config)
        }
    }
}
Step 1: Prepare the project
Create a new Empty View Activity and name the project (e.g., “Android Barcode Scanner”).
When your project is ready, go to settings.gradle.kts and add the Maven repositories for our SDK:
dependencyResolutionManagement {
    repositoriesMode.set(RepositoriesMode.FAIL_ON_PROJECT_REPOS)
    repositories {
        google()
        mavenCentral()

        // Add the repositories here:
        maven(url = "https://nexus.scanbot.io/nexus/content/repositories/releases/")
        maven(url = "https://nexus.scanbot.io/nexus/content/repositories/snapshots/")
    }
}
Now go to app/build.gradle.kts and add the dependencies for the Scanbot SDK and the RTU UI:
dependencies {
    implementation("io.scanbot:scanbot-barcode-scanner-sdk:7.1.0")
    implementation("io.scanbot:rtu-ui-v2-barcode:7.1.0")
Sync the project.
💡 We use Barcode Scanner SDK version 7.1.0 in this tutorial. You can find the latest version in the changelog.
Since we need to access the device camera to scan barcodes, let’s also add the necessary permissions in AndroidManifest.xml:
<?xml version="1.0" encoding="utf-8"?>
<manifest xmlns:android="http://schemas.android.com/apk/res/android"
    xmlns:tools="http://schemas.android.com/tools">

    <uses-permission android:name="android.permission.CAMERA" />
    <uses-feature android:name="android.hardware.camera" />

    <application
    <!-- ... -->
Step 2: Initialize the SDK
Before we can use the Scanbot Barcode Scanner SDK, we need to initialize it. The recommended approach is to do it in your Application implementation. This ensures the SDK is correctly initialized even when the app’s process is restored after being terminated in the background.
First, we need to create an Application subclass by right-clicking on the folder app/kotlin+java/com.example.androidbarcodescanner, selecting New > Kotlin Class/File, and naming it (e.g. “ExampleApplication”).
In the resulting ExampleApplication.kt, let’s first add the necessary imports:
import android.app.Application
import io.scanbot.sdk.barcode_scanner.ScanbotBarcodeScannerSDKInitializer
Then we make ExampleApplication extend the Application class by adding : Application() and add the code for initializing the SDK inside it:
class ExampleApplication : Application() {

    override fun onCreate() {
        super.onCreate()

        ScanbotBarcodeScannerSDKInitializer()
            // Optional: uncomment the next line if you have a license key.
            // .license(this, LICENSE_KEY)
            .initialize(this)
    }
}
💡 Without a license key, our SDK only runs for 60 seconds per session. This is more than enough for the purposes of our tutorial, but if you like, you can generate a license key. Just make sure to change your applicationId in app/build.gradle.kts to io.scanbot.androidbarcodescanner and use that ID for generating the license.
Finally, we need to register the Example Application class in AndroidManifest.xml:
<application
   android:name=".ExampleApplication"
   <!-- ... -->
Step 3: Set up the main screen
We’re going to build a rudimentary UI so we can quickly start the Barcode Scanner from the main screen.
For this tutorial, we’re going to go with a single-button layout, which you can copy and paste into app/res/layout/activity_main.xml:
<?xml version="1.0" encoding="utf-8"?>
<androidx.constraintlayout.widget.ConstraintLayout xmlns:android="http://schemas.android.com/apk/res/android"
    xmlns:app="http://schemas.android.com/apk/res-auto"
    xmlns:tools="http://schemas.android.com/tools"
    android:id="@+id/main"
    android:layout_width="match_parent"
    android:layout_height="match_parent"
    tools:context=".MainActivity">

    <Button
        android:id="@+id/btn_scan_barcodes"
        android:layout_width="0dp"
        android:layout_height="wrap_content"
        android:text="Scan Barcodes"
        app:layout_constraintTop_toTopOf="parent"
        app:layout_constraintBottom_toBottomOf="parent"
        app:layout_constraintStart_toStartOf="parent"
        app:layout_constraintEnd_toEndOf="parent" />

</androidx.constraintlayout.widget.ConstraintLayout>
Next, we’ll connect the button to our RTU UI’s scanning screen.
Step 4: Implement the barcode scanning feature
Go to MainActivity.kt and add the necessary imports:
import android.widget.Button
import android.widget.Toast
import androidx.activity.result.ActivityResultLauncher
import io.scanbot.sdk.ui_v2.barcode.BarcodeScannerActivity
import io.scanbot.sdk.ui_v2.common.activity.registerForActivityResultOk
import io.scanbot.sdk.ui_v2.barcode.configuration.*
In the MainActivity class, add a private property that we’ll use to launch the barcode scanner. We’ll also display the scan result to the user in a Toast message.
private val barcodeResultLauncher: ActivityResultLauncher<BarcodeScannerScreenConfiguration> =
    registerForActivityResultOk(BarcodeScannerActivity.ResultContract()) { resultEntity ->
        // Barcode Scanner result callback:
        // Get the first scanned barcode from the result object...
        val barcodeItem = resultEntity.result?.items?.first()
        // ... and process the result as needed. For example, display as a Toast:
        Toast.makeText(
            this,
            "Scanned: ${barcodeItem?.barcode?.text} (${barcodeItem?.barcode?.format})",
            Toast.LENGTH_LONG
        ).show()
    }
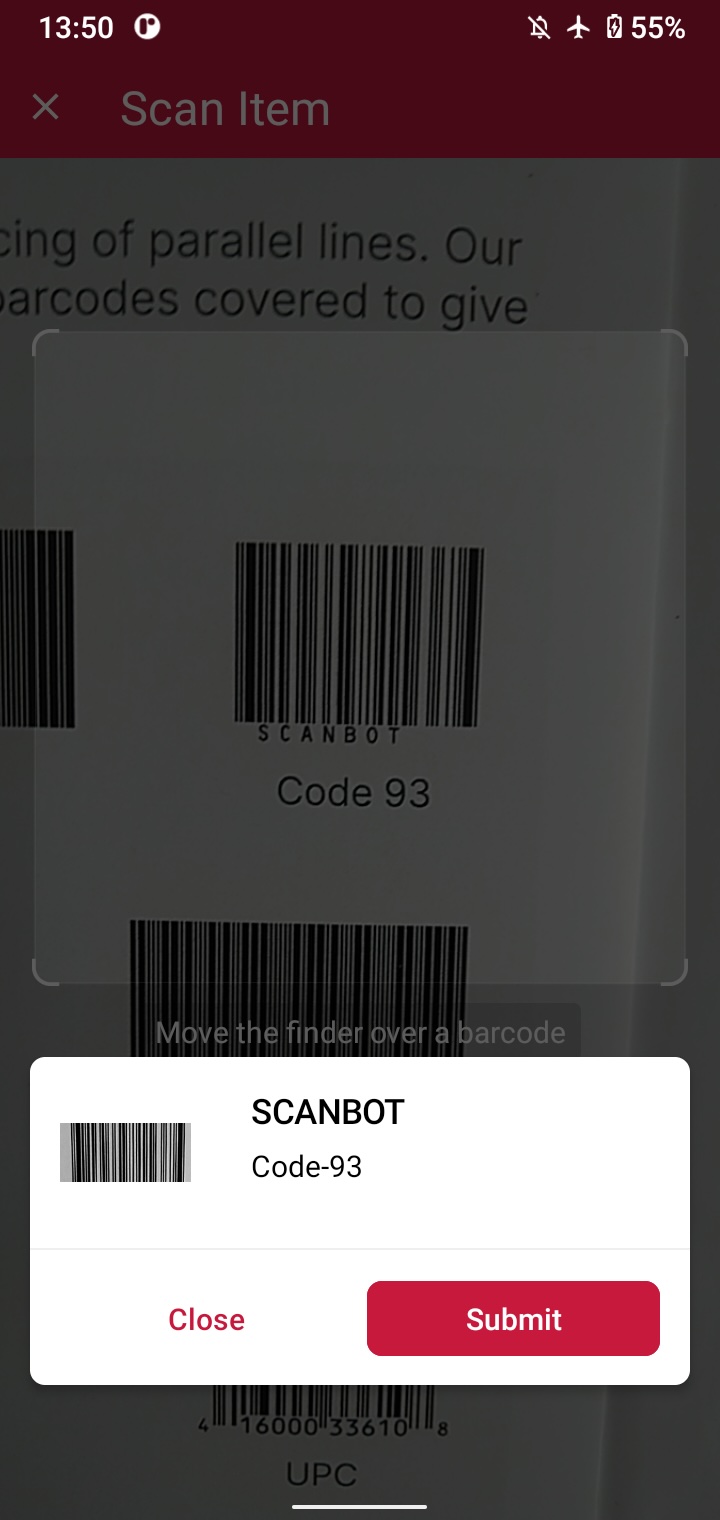
In the onCreate() method, set up an OnClickListener for the Scan Barcodes button. When the button is clicked, it starts the barcodeResultLauncher using a configuration object. We’ll configure the scanner to read a single barcode and display a confirmation dialogue.
findViewById<Button>(R.id.btn_scan_barcodes).setOnClickListener {
    val config = BarcodeScannerScreenConfiguration().apply {
        // Initialize the use case for single scanning.
        this.useCase = SingleScanningMode().apply {
            // Enable and configure the confirmation sheet.
            this.confirmationSheetEnabled = true
        }
    }
    barcodeResultLauncher.launch(config)
}
Build and run the scanner to give it a try!
Optional: Implement multi-barcode scanning with an AR overlay
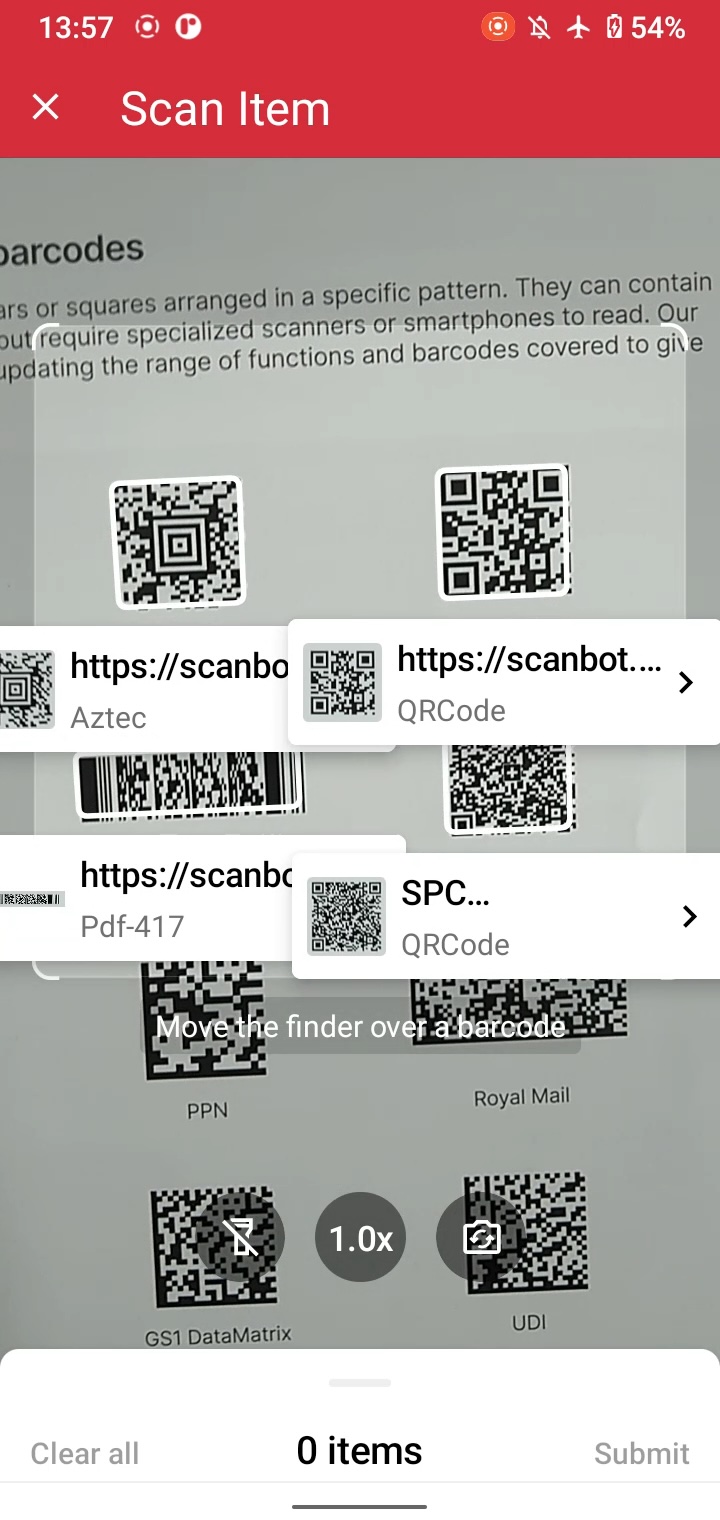
As it is now, our app outputs the value of a single barcode and closes the scanning interface. But we can also scan multiple barcodes at once. As an added bonus, we can also display the barcodes’ values right in the scanning screen while giving users the option to tap on any barcode to add it to a results sheet.
To achieve this, simply replace the single-barcode scanning configuration with the multi-scanning one and also enable the AR overlay:
findViewById<Button>(R.id.btn_scan_barcodes).setOnClickListener {
    val config = BarcodeScannerScreenConfiguration().apply {
        // Initialize the use case for multi-scanning.
        this.useCase = MultipleScanningMode().apply {
            // Enable the AR overlay and let users select barcodes.
            this.arOverlay.visible = true
            this.arOverlay.automaticSelectionEnabled = false
        }
    }
    barcodeResultLauncher.launch(config)
}
Your final MainActivity.kt will look like this:
package com.example.androidbarcodescanner

import android.os.Bundle
import androidx.activity.enableEdgeToEdge
import androidx.appcompat.app.AppCompatActivity
import androidx.core.view.ViewCompat
import androidx.core.view.WindowInsetsCompat
import android.widget.Button
import android.widget.Toast
import androidx.activity.result.ActivityResultLauncher
import io.scanbot.sdk.ui_v2.barcode.BarcodeScannerActivity
import io.scanbot.sdk.ui_v2.common.activity.registerForActivityResultOk
import io.scanbot.sdk.ui_v2.barcode.configuration.*

class MainActivity : AppCompatActivity() {

    private val barcodeResultLauncher: ActivityResultLauncher<BarcodeScannerScreenConfiguration> =
        registerForActivityResultOk(BarcodeScannerActivity.ResultContract()) { resultEntity ->
            val barcodeItem = resultEntity.result?.items?.first()
            Toast.makeText(
                this,
                "Scanned: ${barcodeItem?.barcode?.text} (${barcodeItem?.barcode?.format})",
                Toast.LENGTH_LONG
            ).show()
        }

    override fun onCreate(savedInstanceState: Bundle?) {
        super.onCreate(savedInstanceState)
        enableEdgeToEdge()
        setContentView(R.layout.activity_main)
        ViewCompat.setOnApplyWindowInsetsListener(findViewById(R.id.main)) { v, insets ->
            val systemBars = insets.getInsets(WindowInsetsCompat.Type.systemBars())
            v.setPadding(systemBars.left, systemBars.top, systemBars.right, systemBars.bottom)
            insets
        }
        findViewById<Button>(R.id.btn_scan_barcodes).setOnClickListener {
            val config = BarcodeScannerScreenConfiguration().apply {
                this.useCase = MultipleScanningMode().apply {
                    this.arOverlay.visible = true
                    this.arOverlay.automaticSelectionEnabled = false
                }
            }
            barcodeResultLauncher.launch(config)
        }
    }
}
Now build and run the app again to test your multi-barcode scanner.
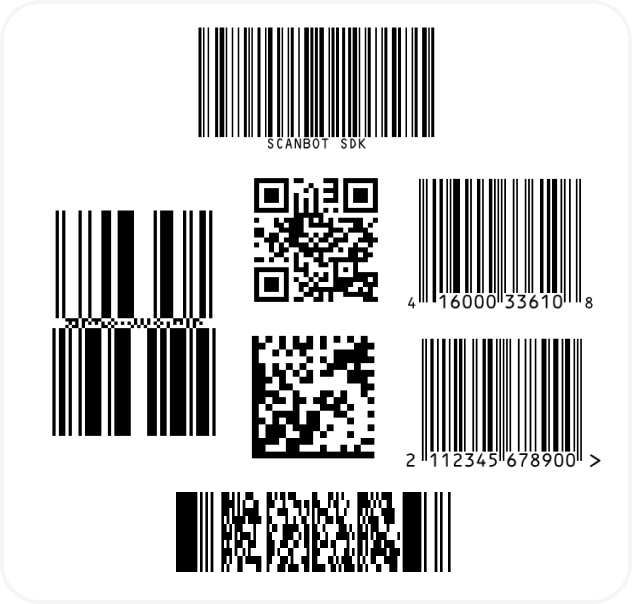
If you’re in need of some barcodes, we’ve got you covered:
Conclusion
🎉 Congratulations! You’ve built a powerful barcode scanning app for Android with just a few lines of Kotlin code!
This is just one of the many scanner configurations the Scanbot SDK has to offer – take a look at the RTU UI documentation and API references to learn more.
Should you have questions or run into any issues, we’re happy to help! Just shoot us an email via tutorial-support@scanbot.io.
Happy scanning! 🤳
Elevating your barcode scanning app: advanced topics and best practices
Now that you’ve successfully integrated the Scanbot Android Barcode Scanner SDK into your application, let’s explore advanced topics that will help you build a robust, high-performing, and user-friendly barcode scanning experience. These considerations go beyond the fundamental setup and delve into optimizing your app for various real-world scenarios.
Choosing the right SDK: a comparative overview
Selecting a barcode scanning SDK is a crucial decision that impacts your app’s performance, features, and long-term maintainability. While the Scanbot SDK offers powerful capabilities, it’s beneficial to understand how it compares to other solutions. When evaluating other SDKs, consider factors such as their licensing costs and models, their feature depth (do you need OCR, ID scanning, or document scanning?), the level of customer support they provide, and their customization options, which dictate how much control you have over the scanning interface and behavior.
Robust error handling and user guidance
Even in ideal conditions, errors can occur. A well-designed app anticipates these issues and guides the user effectively. Implement comprehensive error handling for common scenarios like camera permission denied, clearly explaining why the permission is needed and providing a direct path to grant it. Address hardware issues where the camera is unavailable or malfunctioning, offering diagnostic information if possible. Inform the user when an unsupported barcode type is scanned and provide clear feedback and suggestions for poor lighting conditions (e.g., “Move to a brighter area” or “Turn on the flashlight”). The goal is actionable user guidance rather than generic error messages.
Optimizing battery consumption
Continuous camera usage can significantly drain battery life. Optimize your app by efficiently managing the camera session lifecycle, starting and stopping it only when actively scanning and releasing camera resources immediately when not in use. Additionally, optimize the preview frame processing rate, minimizing it if high-speed scanning isn’t continuously required, which helps reduce CPU and GPU load.
Security implications of scanned data
Scanned data, especially from sensitive documents or personal information, requires careful handling. Implement rigorous validation and sanitization routines for all scanned data to prevent injection attacks or unexpected behavior. If you’re scanning URLs or other potentially malicious content, warn users about unsafe content before they interact with it. For sensitive information (e.g., from ID cards), ensure secure data handling by encrypting it at rest and in transit, adhering to relevant data privacy regulations like GDPR or CCPA.
Offline capabilities and data synchronization
Network connectivity isn’t always guaranteed. Design your app to function reliably offline. Implement mechanisms for offline storage of scanned data when an internet connection is unavailable. Then, develop robust strategies to synchronize this offline data with your backend system once connectivity is restored, carefully handling conflicts and ensuring data integrity.
Accessibility for all users
Ensure your barcode scanning app is usable by individuals with diverse abilities. Provide voice-over guidance and audio cues for visually impaired users to help them aim and position the barcode. Ensure all UI elements are properly labeled and compatible with screen readers. Offer options for users to adjust font sizes, contrast, and other UI elements for adjustable UI elements, and provide high-contrast modes to improve readability for users with low vision.
Comprehensive testing strategies
Thorough testing is essential for a reliable barcode scanning app. Conduct unit testing on the scan result logic to ensure correct parsing and data extraction. Perform integration testing with mock camera data to simulate various scanning conditions, allowing you to test how your app handles different barcode types, quality, and environmental factors. Finally, conduct UI testing to verify the behavior and responsiveness of your scanner interface across different devices and Android versions.
