
Getting started
Requirements
Note: The Scanbot Web Barcode Scanner uses WebAssembly, which is not supported on some older browsers. Learn more at WebAssembly and Supported Browsers.
* Though we use React JS in this tutorial, the Scanbot Web SDK npm package works equally well with other JavaScript frameworks such as Angular, as well as with plain JS.
Create a “Hello World” React app
$ npx create-react-app my-awesome-react-barcode-scanner-web-appThis command will create a blank React app.
Test run
Next, let’s run this app on a local browser.
$ cd my-awesome-react-barcode-scanner-web-app
$ npm start
You will see React’s default “Hello World” screen.
Now, you are ready to develop your own project on React. Later, when you’re ready to deploy to production, running npm run build will create an optimized build of your app in the build folder.
Add the Scanbot SDK
Let’s now add the Scanbot SDK to our project. The Scanbot Web SDK is available as the npm package scanbot-web-sdk. Use the following command to install it:
$ npm install scanbot-web-sdkIt’s coding time
If you are developing a webpack-based project, which is the default when using React, you can import the Scanbot Web SDK package into your App.js as below:
import ScanbotSDK from 'scanbot-web-sdk/webpack'This ensures that webpack will automatically copy the web worker and WebAssembly components into the webpack output folder (typically ./dist/). You can visit webpack’s official website for more information.
If you want to manually handle those components, import the SDK without the /webpack suffix as below:
import ScanbotSDK from 'scanbot-web-sdk'Then, make sure to copy the following files from the npm package to the distribution (typically ./dist/) folder of your web app:
ScanbotSDK.Core.jsScanbotSDK.Asm.wasm
Initial Code
First, we will import the Scanbot SDK into our app. We will use the default App component to hold our Barcode Scanner.
To do so, replace the entire content of the file App.js with the following code:
import React from 'react';
import ScanbotSDK from 'scanbot-web-sdk/webpack';
import './App.css';


export default class App extends React.Component {
  constructor(props) {
      super(props);
  }

  async componentDidMount() {
    this.sdk = await ScanbotSDK.initialize({
      licenseKey: '',
      engine: "/",
    });
  }

  render() {
    return (
      <div
        id='barcode-scanner-view'
        style={{ height: "70%", width: "70%" }}>
      </div>
    );
  }
}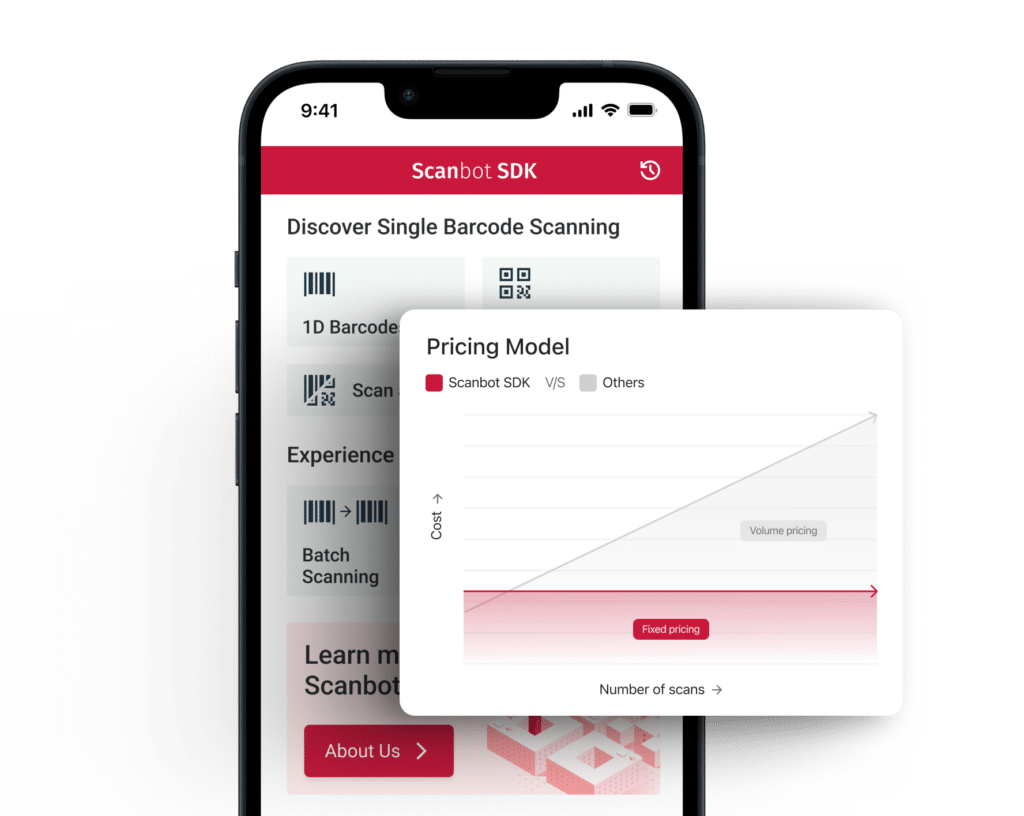
Scanbot SDK:
Unlimited scanning at a fixed price
Your reliable data capture solution for mobile and web app integration.
Supports all common platforms and frameworks.
Initialize the Scanbot SDK
The Scanbot SDK must be initialized before usage. For this, we use the SDK API method ScanbotSDK.initialize(options).
Let’s have a look at the componentDidMount() method in the React component. It is invoked immediately after a component is mounted. This method serves as an entry point for our SDK initialization action in our new App class in App.js:
class App extends React.Component {
...
async componentDidMount() {
    this.sdk = await ScanbotSDK.initialize({
      licenseKey: '', // see the license key notes below!
      engine: "/",
    });
}
...
}
For the full API reference of the Scanbot Web SDK, please check out the documentation.
Integrate the Barcode Scanner UI
The Scanbot Web SDK provides a ready-to-use scanner element for barcode scanning. The Barcode Scanner can be easily integrated with just a few lines of code using the API method ScanbotSDK.instance.createBarcodeScanner(config).
Let’s put the SDK callback in a simple function called onBarcodesDetected() so we can bind it to the detection action:
class App extends React.Component {
  ...
  barcodes = [];


  async componentDidMount() {
    this.sdk = await ScanbotSDK.initialize({
      licenseKey: '',
      engine: "/",
    });


    const config = {
      onBarcodesDetected: this.onBarcodesDetected.bind(this),
      containerId: 'barcode-scanner-view',
    };


    this.barcodeScanner = await this.sdk.createBarcodeScanner(config);
  }

  async onBarcodesDetected(result) {
    this.barcodes.push(result);
  }
  render() {
  ...
}
Detected barcodes are returned as a BarcodeResult object. You can stack up barcode results in an array, as we do in our simple example above.
For further information about barcode detection results, please check out the documentation.
Show the Barcode Results
Finally, let’s show the scanned barcodes in text form. The result is an array of barcodes in the BarcodeResult object. To display the last scanned barcode results, we use the React method setState like so:
constructor(props) {
    super(props);

    this.state = {
      lastBarcode: null,
    }
  }
...
async onBarcodesDetected(result) {
    this.barcodes.push(result);
    this.setState({
      lastBarcode: result
    });
}
Let’s now render the detected barcodes after formatting the result text. As an example, we could use the following code for this:
render() {
    let barcodeText;
    if (!this.state.lastBarcode) {
      barcodeText = '';
    } else {
      const barcodes = this.state.lastBarcode.barcodes;
      barcodeText = JSON.stringify(
        barcodes.map((barcodes) => barcodes.text + " (" + barcodes.format + ") "));
    }

    return (
      <div>
        <div
          id='barcode-scanner-view'
          style={{ height: "70%", width: "70%" }}>
        </div>
        {barcodeText}
      </div>
    );
}
That’s it! Now run the complete project. The app should be able to scan and display the barcode results.
Complete example projects
To get off to a flying start, check out the following example projects on GitHub:
- small example project for this tutorial: https://github.com/doo/my-awesome-react-barcode-scanner-web-app
- full example project: https://github.com/doo/scanbot-sdk-example-web
It demonstrates the integration of all API methods of the Scanbot Web SDK, such as Document Scanning, Cropping UI, Image Filtering, PDF and TIFF Rendering, Barcode and QR Code Scanning, MRZ Scanner (Machine Readable Zones), and more.
Scanbot SDK (trial) license key
Please note: The Scanbot SDK will run without a license key for one minute per session! After the trial period has expired, all Scanbot SDK functions as well as the UI components will stop working or may be terminated.
You can get an unrestricted, no-strings-attached 7-day trial license for free. Make sure to select “Web SDK” and provide your domain name.
The Scanbot Web SDK license key is bound to the domain name where your web app will be hosted. For your local development server, the trial license key will also include “localhost” as test domain.
💡 Did you have trouble with this tutorial?
We offer free integration support for the implementation and testing of the Scanbot SDK. If you encounter technical issues or need advice on choosing the appropriate framework or features, join our Slack or MS Teams or send us an email to receive your free support.